Snipping Tool Screen Recording: Windows 11 Guide (2026)
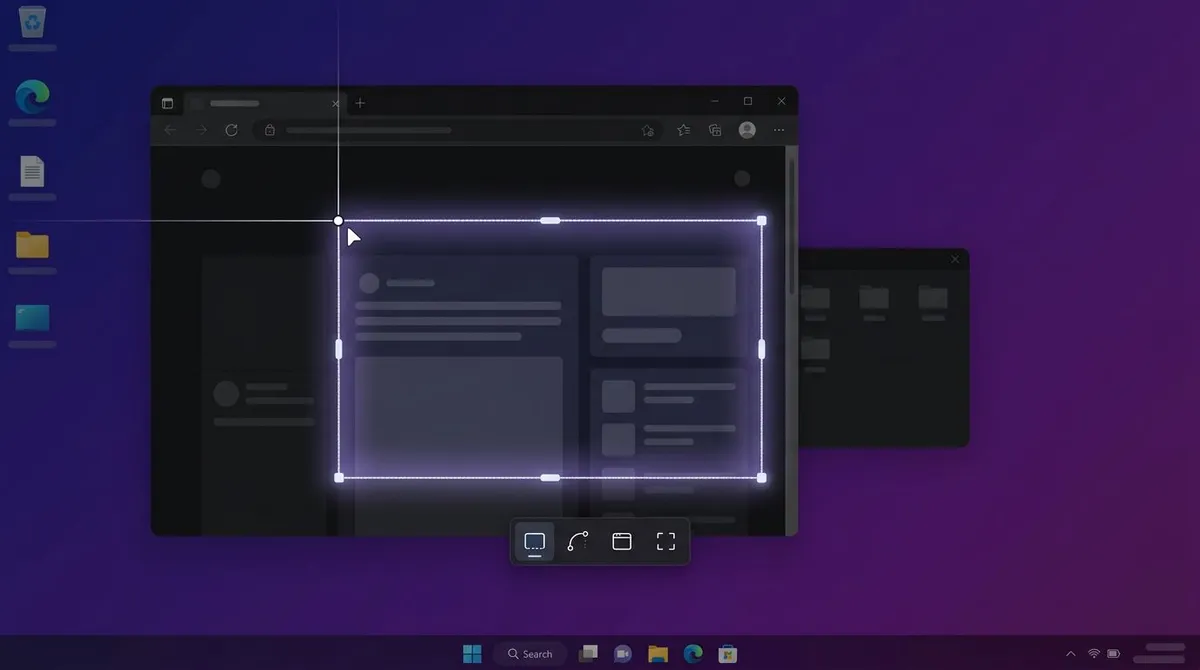
Snipping Tool screen recording is built into Windows 11. Press Win + Shift + R, or open Snipping Tool and select Record, then New. Drag a rectangle over the area you want, then select Start. A 3 second countdown runs, and you select Stop when you are finished. The clip saves as an MP4.
Windows 11 only. The video snip does not exist in the Windows 10 Snipping Tool. Windows 10 users should skip to the Xbox Game Bar section near the end.
What Snipping Tool screen recording can and cannot do
Here is the honest capability list.
| Capability | Snipping Tool video snip |
|---|---|
| Output format | MP4 |
| Microphone audio | Yes, toggle in the recording toolbar |
| System audio (PC sound) | Yes, toggle in the recording toolbar |
| Area selection | Yes, you drag a rectangle |
| Whole display | Yes, drag the selection across the full screen |
| Window mode | Yes, it snaps to an app window |
| Pause mid recording | Yes |
| Countdown before start | Yes, 3 seconds |
| Trim in the app | Yes, drag the start and end points |
| GIF export | Yes, 30 seconds maximum |
| Multi clip timeline editing | No, hand off to Clipchamp |
| Webcam overlay | No |
| Annotation on the video | No, annotation applies to still snips only |
| Scheduled or timed capture | No |
Much of what is written about this feature is out of date. The shortcut exists, full screen recording works, and recent versions added trim plus GIF export.
How to use Snipping Tool screen recording, step by step
Two entry paths land in the same place.
The fast path:
- Press
Win + Shift + R. The screen dims and a crosshair appears. - Drag a rectangle around the area you want to record.
- Toggle the microphone and system audio icons in the small toolbar above your selection.
- Select Start. A 3 second countdown runs, then recording begins.
- Use the pause button to stop and resume without splitting the file.
- Select Stop. The clip opens in Snipping Tool for preview.
- Select Save as to pick a filename and folder, or leave the copy already written to disk.
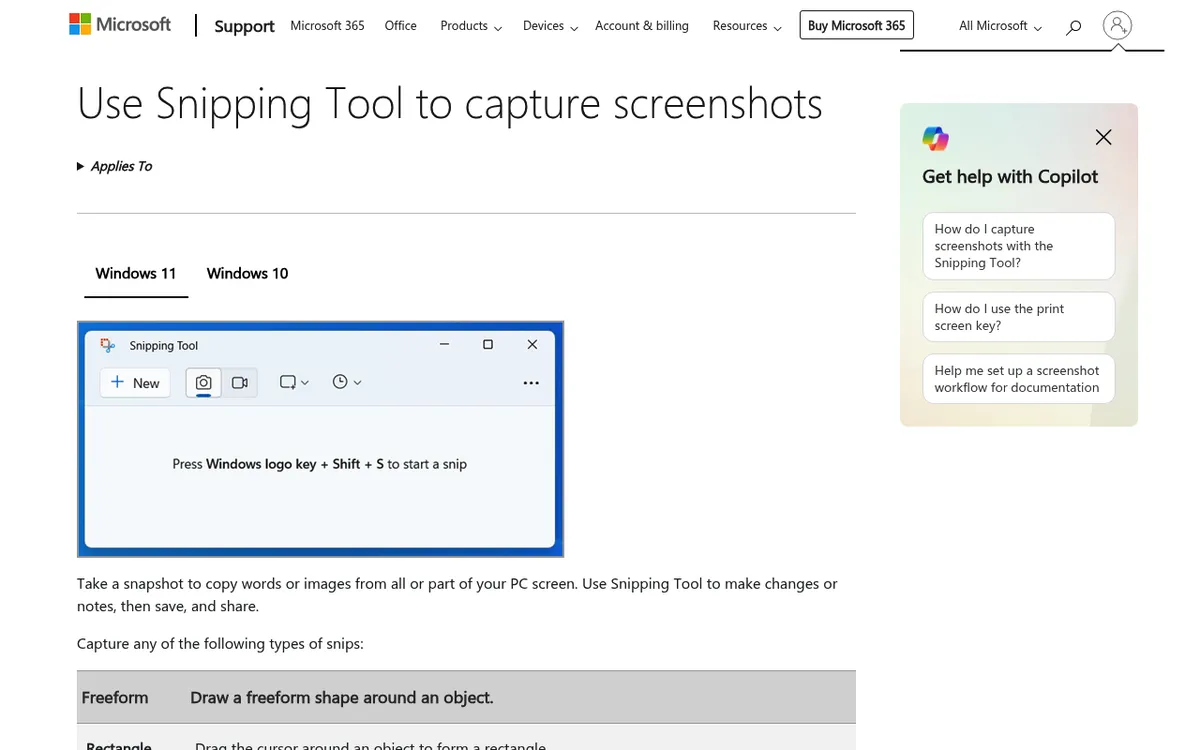
The menu path: open Snipping Tool from the Start menu, select Record in the top toolbar, then select New. The rest is identical. Microsoft documents both routes on its Snipping Tool support page.
Recording the full screen or a single window
Claims that the video snip cannot record a whole display are wrong. Start the drag in the top left corner, push past the bottom right edge, release, and you have a full screen recording.
Current versions also offer a window mode that sizes the region to an app window for you. The region is fixed once recording starts, so it will not follow a window you move.
The one real constraint: the selection lives on a single display. On a multi monitor setup, pick your monitor first. There is no "record all screens" option.
Is there a keyboard shortcut? Yes
Win + Shift + R is documented by Microsoft, alongside Win + Shift + S for image snips. It was missing when recording first reached Insiders in December 2022, and several guides still repeat that. If it opens the screenshot overlay instead, your build is old. See our full list of Windows screenshot shortcuts.
Recording with audio: microphone and system audio
Audio arrived in Snipping Tool version 11.2307.44.0, announced on the Windows Insider Blog as "support for optionally recording your PC audio and voice overs using a microphone".
Both toggles sit in the toolbar above your selection, before you press Start. The microphone icon captures your voice. The speaker icon captures system audio, meaning whatever your PC is playing. Set them before the countdown, because flipping them later does nothing for the take already running.
Recording a lot of narrated clips? Set the defaults under See more (the three dots) then Settings, where "Include microphone input by default when a screen recording starts" has a matching toggle for system audio. The same pane picks your input device.
If the mic is greyed out or silent: Windows privacy permission is the usual cause. Go to Settings > Privacy & security > Microphone and confirm the master toggle and desktop app access are on. Our walkthrough covers how to record system audio and microphone on Windows.
Where Snipping Tool recordings are saved
Screen recordings land in your Screen Recordings folder, which sits inside Videos:
C:\Users\<YourName>\Videos\Screen RecordingsMicrosoft's Snipping Tool learning center article confirms the folder name. Still snips go to Pictures\Screenshots instead, which is why some articles list two contradictory locations.
Change the automatic save behaviour under See more > Settings, or use Save as on one clip without touching the default. Our reference on where Windows saves your captures lists every capture folder.

Tired of plain screenshots? Try ScreenSnap Pro.
Beautiful backgrounds, pro annotations, GIF recording, and instant cloud sharing, all in one app. Pay $39 once, own it forever.
See pricing and featuresTrimming, GIF export and captions after you stop
Snipping Tool can trim. Open the clip, select Trim at the top, drag the grabbers to new start and end points, then select Apply, as documented by Microsoft. What it cannot do is join two takes on a timeline.
Exporting the recording as a GIF
Current versions add an Export GIF button to the top toolbar. Pick low or high quality, then save the file or copy it to the clipboard. Microsoft caps this at 30 seconds: longer clips export only their first 30 seconds.
Captions and detached audio in Clipchamp
For anything past a trim, the preview offers an Edit in Clipchamp button. Clipchamp covers two jobs the Snipping Tool skips:
- Captions. Open the Captions tab, select Transcribe media, choose your language and filter options, then select Transcribe media again. You get a transcript you can burn in.
- Detached audio. Open the Audio tab. Volume runs from 0 to 200%, and the Detach audio button downloads the audio track as a separate file.
For cuts and titles, a proper editor is faster: see the practical ways to edit a screen recording on Windows. Our browser based video trimmer needs no install.
Copilot+ PC extras worth knowing about
On a Copilot+ PC, Snipping Tool gains two AI features. Both are stills only, so neither changes your recording workflow:
- Perfect screenshot tightens the capture area around on screen content, which cuts down on cropping afterwards.
- Color picker grabs exact colour values from anywhere on screen and copies them to the clipboard.
Microsoft labels both Copilot+ PC only. On a standard Windows 11 machine they will not appear.
Troubleshooting Snipping Tool screen recording
The Record button is missing
This is almost always an app version issue rather than a Windows one. Snipping Tool updates through the Microsoft Store, independently of Windows Update. A missing Trim or Export GIF button points at the same cause.
- Open Microsoft Store, go to Library, select Get updates, and let Snipping Tool finish updating.
- Still no Record button? Go to Settings > Apps > Installed apps, find Snipping Tool, open Advanced options, and select Repair. Restart, then reopen the app.
- Check the version in the app's Settings pane. If it is well behind current, reinstall from the Store.
Microsoft's Q&A thread on the missing Record option walks through the same sequence. For anything broader, see Snipping Tool not working.
Win + Shift + R does nothing
Either the app is out of date (fix it above), or another app has claimed the shortcut. Utilities that remap Windows key combos are the usual culprits. Close them one at a time and retest. If the image shortcut is also dead, read what to do when the Snipping Tool shortcut does nothing.
The recording is black
Protected video playback (streaming apps with DRM) renders as a black rectangle by design, and no built-in Windows recorder gets around that. Otherwise suspect an outdated GPU driver. Update it, then record a plain desktop window to confirm.
The recording has no sound
Check that the microphone and speaker icons were on before you pressed Start, then check Settings > Privacy & security > Microphone. If only system audio is missing, confirm the recorded app is routed to your default output device.
The recording stops early
Check free disk space first, since the MP4 is written as you go. Then make sure sleep and screen timeout are not firing mid take: Settings > System > Power & battery > Screen and sleep. Long takes also produce big files, so it helps to know how to shrink the MP4.
Recording on Windows 10
There is no video snip in the Windows 10 Snipping Tool, and no update will add one. Your built-in option is Xbox Game Bar (Win + Alt + R), which records the active app window. Our hub covers the free ways to record your screen on Windows across both versions.
When you need more than the Snipping Tool
For a 30 second clip to drop into a bug report or a Teams message, the Snipping Tool is the fastest path to an MP4 on Windows 11. No install, no setup, two keystrokes. Use it.
It runs out of road in predictable places. GIF export stops at 30 seconds, so a longer looping demo means recording your screen as a GIF directly, or converting the MP4 with our MP4 to GIF converter. There is also no webcam, no annotation on the video, and no shareable link.
ScreenSnap Pro covers those gaps: screen recording with mic and system audio, GIF recording straight from the screen with no 30 second ceiling, webcam capture, 15 annotation tools, optional cloud links, and no watermark. It is $39 one time, and the licence covers Windows and Mac. See what is included.
Prefer to stay free? Our list of Snipping Tool alternatives and roundup of free screen recorders for Windows cover the field.
Frequently asked questions

Morgan
Indie DeveloperIndie developer, founder of ScreenSnap Pro. A decade of shipping consumer Mac apps and developer tools. Read full bio
@m_0_r_g_a_n_