How to Record a Google Slides Presentation (2026)
To record a Google Slides presentation, you use a screen recorder, because Google Slides has no built in recording feature. Open your deck in Presenter view, start a screen recording with your microphone enabled, present as normal, then stop the recording and save the video file. On Mac that means Cmd+Shift+5, on Windows it means Xbox Game Bar or a dedicated recorder like ScreenSnap Pro.
That is the whole trick. The confusing part is that PowerPoint has a built in "Record Slide Show" button and Google Slides does not, so people spend a long time hunting for a menu item that was never there. This guide covers the screen recorder route on both platforms, how to add your voice and webcam, and how to share the finished video.
Does Google Slides Have a Built-in Recorder?
No. There is no record button in Google Slides on the free consumer version.
This surprises people coming from PowerPoint, which has recorded narration and slide timings built into the ribbon for years. In Google Slides, the Slideshow menu presents your deck and nothing more. There is no narration track, no timing capture, and no export to video.
Google did add a recording feature to Slides, but it is limited in two ways that catch most people out:
- It is Workspace only. It requires specific paid Google Workspace tiers, such as Business Standard and above. Personal
@gmail.comaccounts do not have it. - Recordings are capped and stored in Drive. Length limits apply and the file lands in your Drive rather than as a video you control locally.
So for most people, on a personal account or a basic Workspace plan, a screen recorder is the answer. The upside is that a screen recorder gives you more control anyway: you choose the resolution, you capture a webcam bubble if you want one, and you get a normal video file you can upload anywhere.
What you need before you start
| What | Why it matters |
|---|---|
| A quiet room | Microphone pickup is the single biggest quality factor |
| Presenter view | Lets you read notes without recording them |
| A screen recorder | Mac and Windows both have a basic one built in |
| Mic access | The recorder must be granted permission or you get silent video |
How to Record Google Slides on Mac
macOS has a built in screen recorder in the Screenshot toolbar. It handles this job for free.
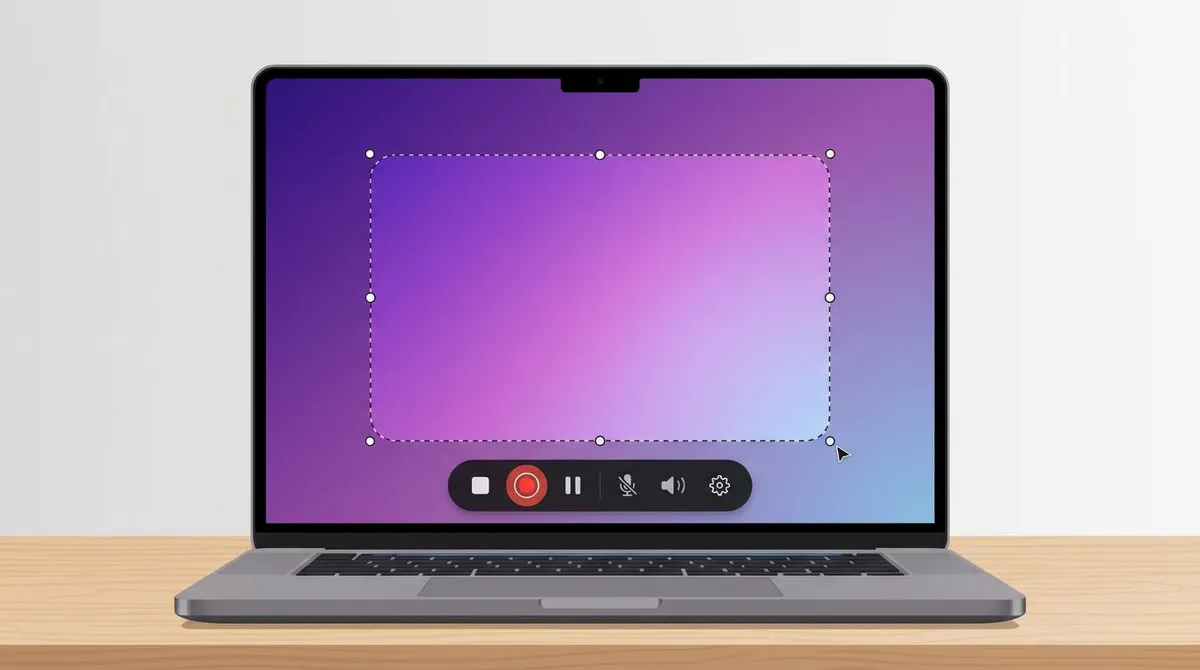
- Open your deck and start the slideshow, ideally in Presenter view so your notes stay on a second screen.
- Press
Cmd + Shift + 5to open the screen recording toolbar. - Choose Record Entire Screen for a full slideshow, or Record Selected Portion if you only want the slide area.
- Click Options and pick your microphone under the Microphone heading. This step is the one people skip, and it is why so many recordings come back silent.
- Click Record, present your deck, then press
Cmd + Control + Escto stop.
Your video saves to the Desktop as a .mov file by default. Our guide to screen recording on a MacBook covers the toolbar options in more depth.
The system audio catch. macOS does not record internal system audio out of the box. If your deck has an embedded video or a sound effect, the built in recorder captures your voice but not the audio coming out of your speakers. You need a tool that captures system audio to get both. That is worth knowing before you record a 20 minute deck and discover the embedded clips are silent. If that applies to you, our roundup of the best screen recorders for Mac compares the options.
How to Record Google Slides on Windows
Windows has Xbox Game Bar built in, which records the screen for free.
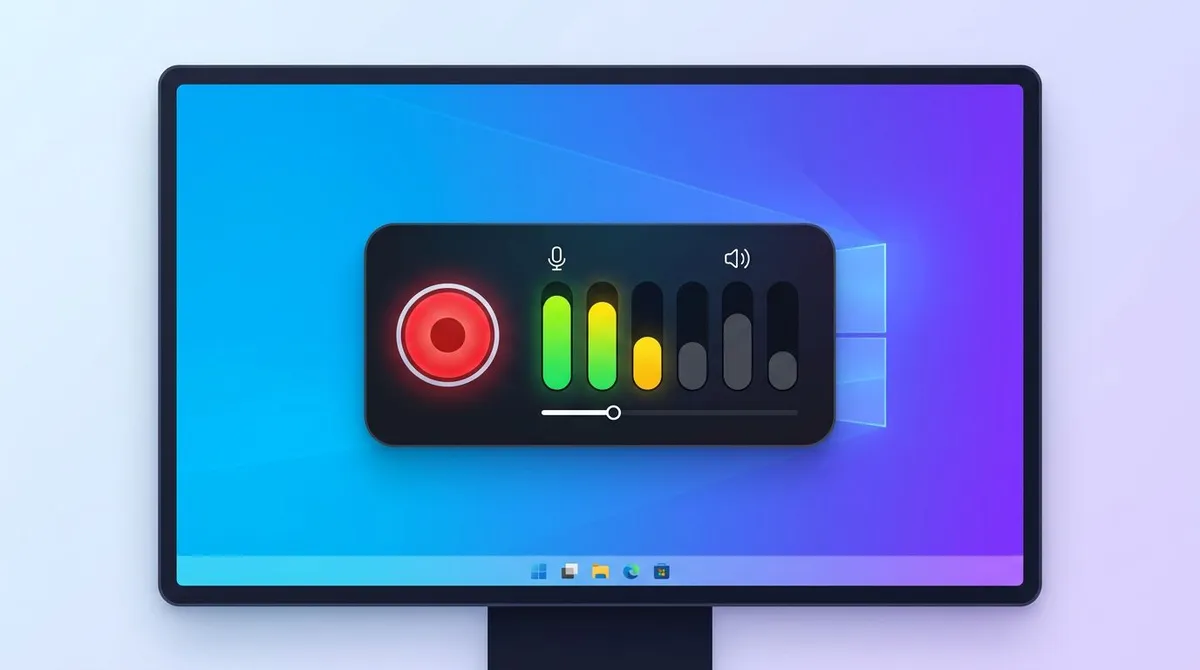
- Open your Google Slides deck in the browser and start the slideshow.
- Press
Win + Gto open Xbox Game Bar. - In the Capture widget, click the microphone icon so it is unmuted.
- Click the record button, or press
Win + Alt + Rto start straight away. - Present your deck, then press
Win + Alt + Ragain to stop.
Recordings land in Videos\Captures as MP4 files.
Game Bar's limits. It was built for recording games, and it shows:
- It records a single app window, not the whole desktop. If you alt tab, the recording stops.
- It cannot record File Explorer or the desktop itself.
- There is no webcam overlay and no annotation.
- It has a recording length cap you can hit on a long deck.
For a presentation that mostly lives in one browser window, Game Bar is workable. For anything longer or more polished, our list of free screen recorders for Windows covers stronger options. If your deck has embedded audio, recording computer audio on Windows walks through capturing system sound alongside your mic.
Recording Your Voice and Webcam While Presenting
A slide deck with a voice over is useful. A slide deck with a voice over and a face is far more engaging, which is why almost every course and conference talk includes the presenter.
Use Presenter view for your notes
Open your deck, click the dropdown arrow next to Slideshow, and choose Presenter view. You get your speaker notes, a timer, and slide controls in a separate window. Google's Present slides help page has the full breakdown.
The important part for recording: put Presenter view on your second monitor and the slideshow on your main one, then record only the main screen. Your audience sees clean slides while you read your notes off camera. With one monitor, you cannot use Presenter view and full screen at the same time, so either present in a window or print your notes.
Add the webcam
Neither the Mac toolbar nor Game Bar gives you a webcam overlay, so this is where a dedicated recorder earns its keep. ScreenSnap Pro records the screen, your webcam, your microphone, and system audio at the same time, so the deck, your narration, and any embedded video all land in one file. It runs on both Mac and Windows, so the workflow is identical if you switch machines. It costs $39 one time, with no subscription, and the license covers two computers. Get ScreenSnap Pro and the license key and installer arrive by email right after checkout.
Practical tips that make the difference
- Do a 20 second test. Record, play it back, check the audio actually exists. This catches the silent recording problem before you present the whole deck.
- Close everything else. Notifications appear in your recording. Turn on Do Not Disturb first.
- Speak to one person. Presenting to a camera feels strange. Picture one colleague and talk to them.
- Pause between slides. A one second gap gives you clean cut points later.
- Watch the timer. Presenter view has one built in. Use it to keep to length.

Tired of plain screenshots? Try ScreenSnap Pro.
Beautiful backgrounds, pro annotations, GIF recording, and instant cloud sharing, all in one app. Pay $39 once, own it forever.
See pricing and featuresExporting, Sharing, and Embedding the Recording
You have a video file. Now it has to reach people, and this is where most guides stop.
Uploading to Drive or YouTube works but is slow, and Drive playback quality often disappoints because of how it re-encodes. For a private deck, unlisted YouTube is usually the better viewing experience.
Sharing a link directly is faster. ScreenSnap Pro uploads the recording and gives you a shareable link, so you can drop it in Slack or an email without a 400MB attachment. Our guide to cloud screenshot sharing covers how the link sharing works.
Turn short segments into GIFs. For a 10 second "here is how this animation works" clip, a GIF beats a video: it autoplays, it loops, and it needs no player. This is a genuinely underused trick for embedding a slide animation into documentation or a Slack thread. See creating a GIF for a presentation for the workflow.
File size. A 20 minute 1080p recording runs to a few hundred megabytes. Most email limits sit at 25MB, so a link is nearly always the right answer for a full deck.
Which Method Should You Use?
| Method | Price | Webcam | System audio | Best for |
|---|---|---|---|---|
| Mac Screenshot toolbar | Free | ❌ | ❌ | Quick voice over on Mac |
| Xbox Game Bar | Free | ❌ | ✅ | Quick voice over on Windows |
| Google Slides recording | Workspace plans | ✅ | ✅ | Teams already on a paid Workspace tier |
| ScreenSnap Pro | $39 once | ✅ | ✅ | Webcam, system audio, and sharing on either platform |
| Subscription recorders | Monthly | ✅ | ✅ | Teams needing built in video editing |
The honest summary: if you need a plain voice over and you are on a personal account, the built in tools are free and fine. Once you want a webcam bubble, system audio, and a shareable link without a monthly fee, a one time tool covers it. If you need to cut and splice the footage afterwards, you want a video editor, which ScreenSnap Pro does not include.
Recording lectures rather than a one off deck? Our guide to lecture recording software compares tools built for longer sessions.
Troubleshooting
The recording has no audio. Almost always the microphone was never enabled. On Mac, Cmd + Shift + 5 then Options then pick your mic. On Windows, unmute the mic icon in the Game Bar Capture widget. On Mac, also check System Settings then Privacy and Security then Microphone and confirm your recorder is allowed.
Embedded videos are silent but my voice is fine. That is the macOS system audio limitation. The built in recorder captures the mic only. You need a recorder that captures system audio.
The slides are laggy or stuttering. Screen recording is demanding. Close other apps, especially browser tabs. Drop to 1080p rather than recording a 4K display. If the deck has heavy transitions, simplify them.
My webcam is not showing. The built in Mac and Windows recorders do not overlay a webcam at all, so nothing is wrong with your setup. You need a recorder with a webcam layer.
Game Bar stops when I switch windows. Expected behaviour. It records one app. Stay in the browser window, or use a recorder that captures the full screen.
Presenter view notes appear in the recording. You recorded the wrong screen. Record the display showing the slideshow, not the one with Presenter view.
Frequently Asked Questions
Wrapping Up
Google Slides has no built in recorder on a personal account, and no amount of menu hunting will find one. The fix is a screen recorder: Cmd + Shift + 5 on Mac, Win + G on Windows, both free, both good enough for a straight voice over.
Enable your microphone before you record, test 20 seconds of it, and put Presenter view on a second screen. Those three habits prevent nearly every problem covered above.
When you want a webcam bubble, system audio for embedded clips, and a link you can paste into Slack without a monthly fee, that is where a one time tool like ScreenSnap Pro fits. Either way, the deck is the easy part. The audio is what people actually notice.

Morgan
Indie DeveloperIndie developer, founder of ScreenSnap Pro. A decade of shipping consumer Mac apps and developer tools. Read full bio
@m_0_r_g_a_n_