Compress a MOV File Without Losing Quality (2026)
# How to Compress a MOV File Without Losing Quality: 5 Methods That Work
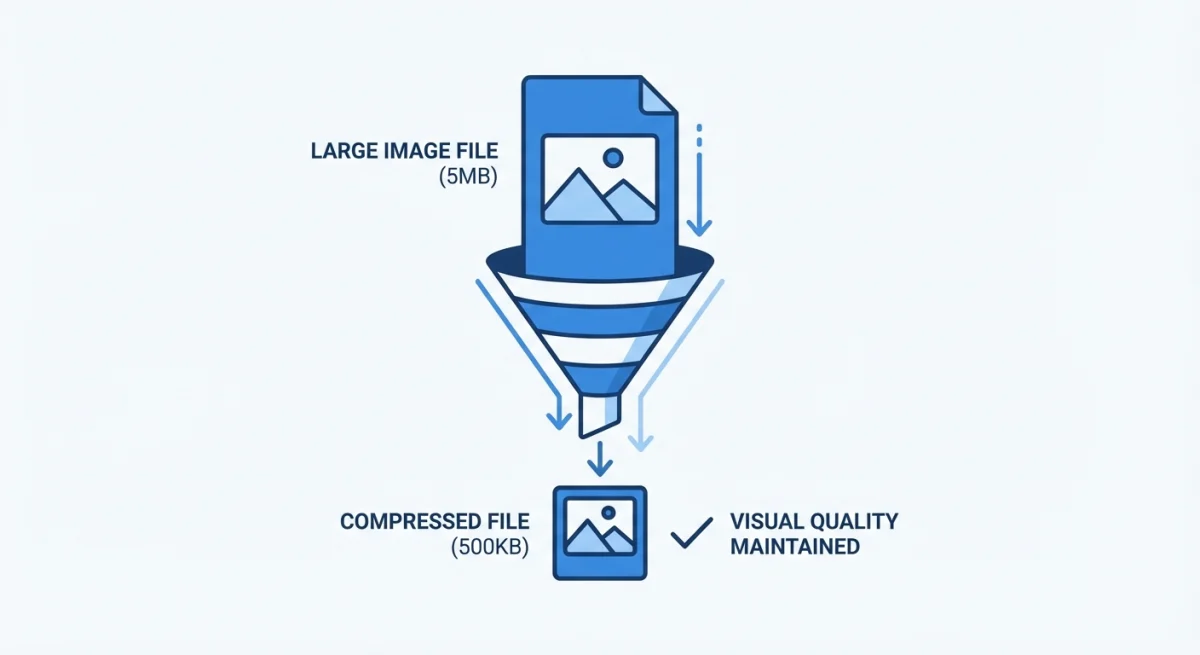
To compress a MOV file without losing quality, work in this order. Trim the dead footage first, because cut seconds cost no quality. Then remux the MOV to MP4 if the video track is already H.264, which copies the bytes instead of re-encoding them. Only re-encode, at CRF 18 to 23, if it is still too big.
Almost nobody explains why that order matters. A 4 GB MOV and a 90 MB MOV can look identical on screen. What sits inside the file decides which method helps.
Why your MOV file is so big
MOV is not a codec. It is Apple's QuickTime container, a wrapper that holds almost anything, so the extension tells you nothing about size.
Apple's numbers make this concrete. One minute of 4K 30 fps video recorded as HEVC uses more than 175 MB, while the same minute in ProRes 422 uses more than 4.4 GB. Same container, 25 times the size.
The usual culprits:
- ProRes or Apple Intermediate from Final Cut Pro. Built for editing, not sending.
- An alpha channel (ProRes 4444), carrying transparency on every frame.
- Uncompressed PCM audio. A 10 minute stereo PCM track is roughly 115 MB alone.
- 60 fps at Retina resolution, over four times the pixels per second of 1080p30.
- HEVC from an iPhone, efficient but often 4K and long.
Check what you have first. On a Mac, select the file, press ⌘ + I, and open More Info for the codec. On Windows, right-click and choose Properties > Details. On either platform, ffprobe is fastest:
ffprobe -v error -show_entries stream=codec_name,width,height,r_frame_rate,bit_rate -of default=noprint_wrappers=1 recording.movIf codec_name returns prores, re-encoding is the only path. If it says h264, you have easier options.
Before you compress a MOV file, know what "no quality loss" means
Three honest tiers. Confusing them is why people end up disappointed.
- Lossless container change (remux). Video bytes are copied untouched. Quality is identical.
- Visually lossless re-encode. CRF 18 to 23. Pixels change, but you cannot see it.
- Visible compression. CRF 26 and above, or a resolution drop.
CRF stands for Constant Rate Factor. Lower numbers mean higher quality and bigger files. As a rule of thumb, adding 6 to the CRF roughly halves the output.
| CRF | What you will see | Good for |
|---|---|---|
| 16 to 18 | Nothing, even paused and zoomed | Masters you will edit again |
| 20 | Nothing during normal playback | Client delivery, portfolio |
| 23 | Slight softening in fast motion | Email, Slack, LMS uploads |
| 26 | Visible blocking in gradients | Quick internal review |
| 28 and up | Obvious mush on small text | Hard size caps only |
HandBrake calls the same control RF, and recommends RF 20 to 24 for 1080p and RF 22 to 28 for 4K.
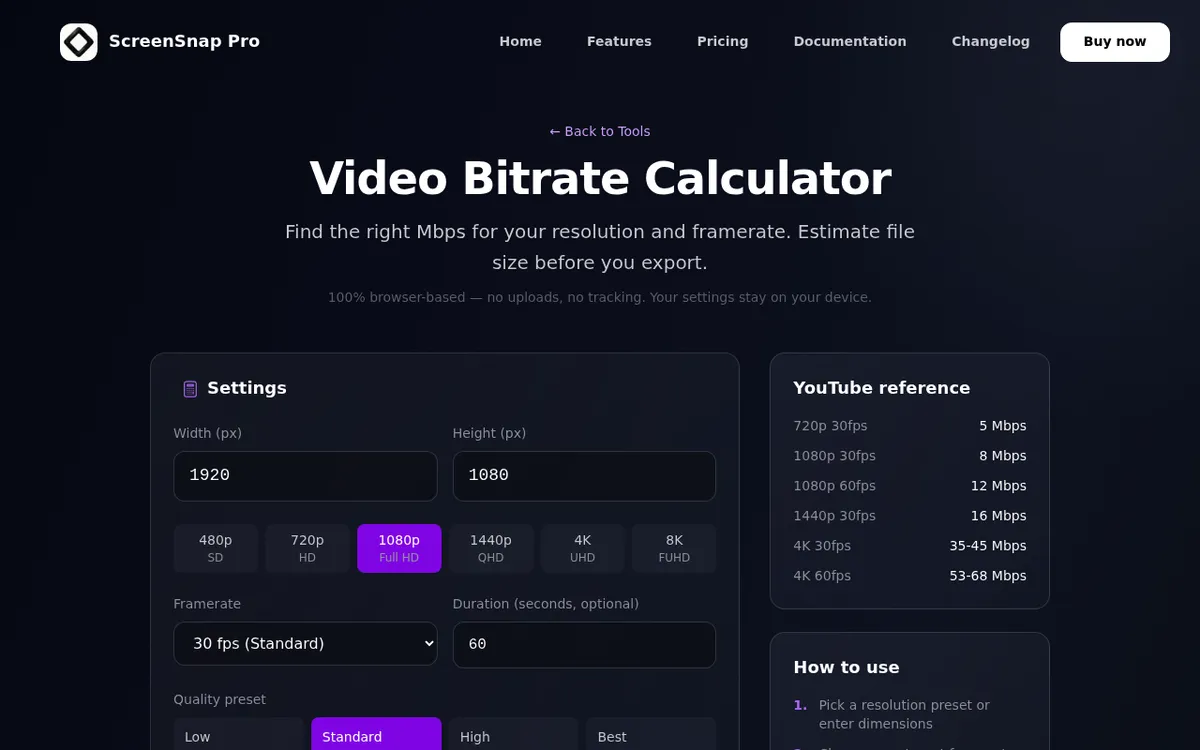
Working to a fixed size instead? Our video bitrate calculator turns "must fit under 25 MB" into a bitrate for HandBrake or ffmpeg.
Method 1: trim the dead time before you compress anything
Biggest win per minute of effort, and every tool page skips it. Cutting a 12 minute recording to the 4 minutes that matter removes two thirds of the bytes at zero quality cost. No codec setting comes close.
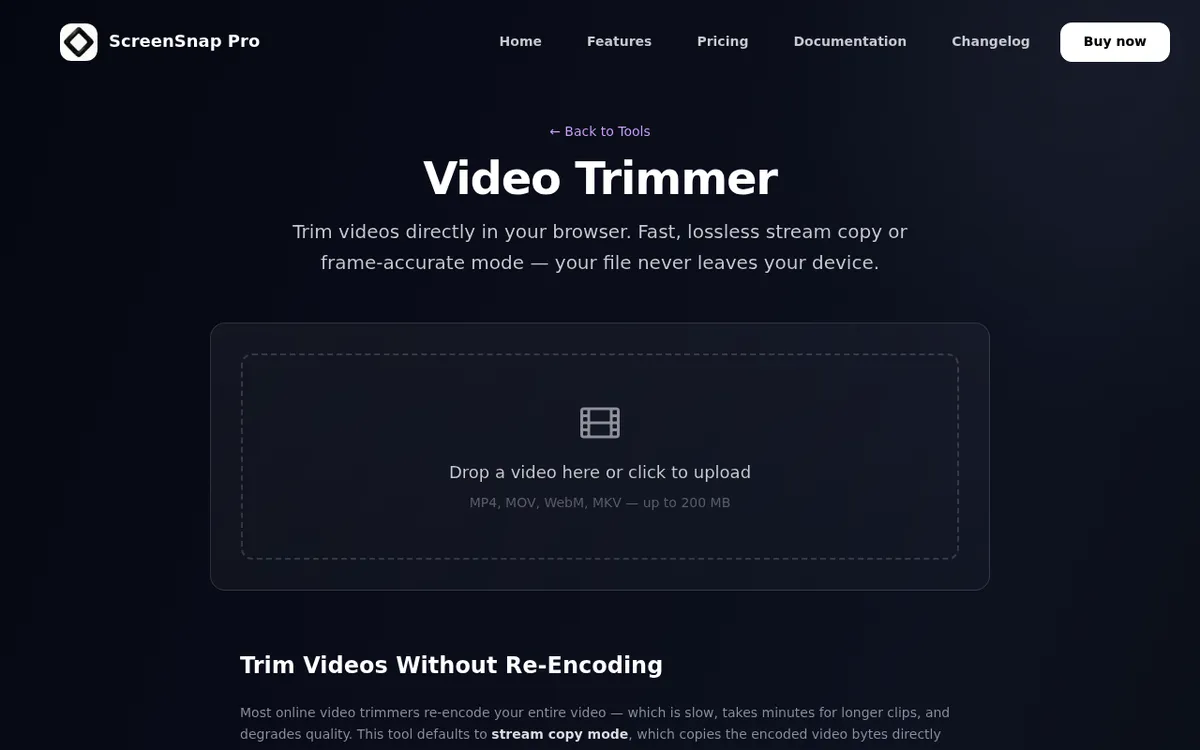
In QuickTime Player, press ⌘ + T, drag the yellow handles, click Trim, then save. For finer control our free video trimmer runs in the browser, and our guide to editing a screen recording on Mac has the walkthrough. Windows readers have a matching guide to trimming screen recordings.
Method 2: remux MOV to MP4 with no re-encode
If ffprobe said h264, changing the container is a copy operation:
ffmpeg -i recording.mov -c copy recording.mp4This finishes in seconds and the video track is byte identical. The wrapper is not where your gigabytes are, so expect a percent or two. What it fixes instantly is the upload form that rejects .mov.
The real win here is audio, because re-encoding audio alone leaves the video untouched. Reach for this whenever ffprobe reported pcm_s16le, since a copied PCM track lands as ipcm audio that several players refuse:
ffmpeg -i recording.mov -c:v copy -c:a aac -b:a 160k recording.mp4That 115 MB PCM track becomes roughly 12 MB. Our guide to screen recording with audio on Mac covers which tracks you need.
One warning: if the source is ProRes, -c copy gives you a 4 GB MP4. Use Method 4 or 5 instead.
Method 3: QuickTime export presets on Mac
Open the file and choose File > Export As. Apple's documentation spells out each option: 4K and 1080p give you H.264 or HEVC, while 720p and 480p are H.264 only. At the two higher resolutions you pick between HEVC for smaller files and H.264 for compatibility.
Two caveats. There is no bitrate or quality control, so you take the preset as given. And QuickTime Player does not export MP4 videos, so the output is still a .mov.
A 4K recording exported at 1080p usually lands near a quarter of the original size. Most oversized MOVs start life in QuickTime screen recording.
The Finder "Compress" correction
Right-clicking a MOV and choosing Compress does not shrink your video. It creates a .zip archive, and because H.264, HEVC and ProRes are already compressed, the zip saves a percent or less. Now you have two large files.

Tired of plain screenshots? Try ScreenSnap Pro.
Beautiful backgrounds, pro annotations, GIF recording, and instant cloud sharing, all in one app. Pay $39 once, own it forever.
See pricing and featuresMethod 4: HandBrake with settings that actually work
HandBrake is free, open source, and runs on Mac and Windows. Most advice stops at "choose a preset". Here are real settings.
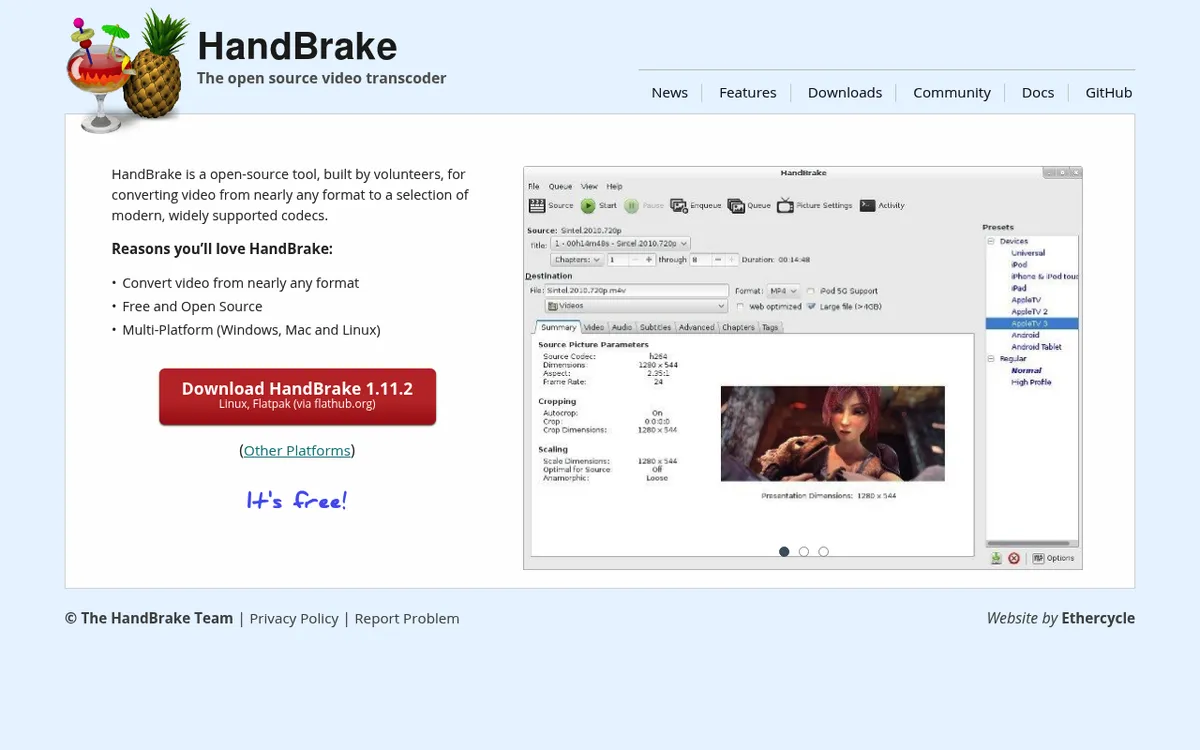
- Preset: Fast 1080p30
- Video encoder: H.264 (x264) for compatibility, H.265 (x265) for smaller files
- Constant Quality: RF 20 to 23
- Encoder preset slider: Medium or Slow. Slower means smaller files at the same quality
- Web Optimized: on, so playback starts before the download finishes
- Audio: AAC, 128 to 160 kbps, stereo
- Framerate: 30 with Peak Framerate if the source is 60 fps
H.265 typically delivers 30 to 50 percent smaller files than H.264 at the same RF. The cost is playback: a Windows machine without HEVC support needs the HEVC Video Extensions from the Microsoft Store before Photos will open it. Sending to an unknown machine? Stay on H.264.
Dropping 60 fps to 30 is its own saving on screen recordings, where nothing moves fast enough to need 60 fps. Our frame rate converter does that in the browser.
Method 5: two ffmpeg commands for the two real cases
ffmpeg has no interface, and for this task that is a feature.
Keep the resolution, shrink the file:
ffmpeg -i recording.mov -c:v libx264 -crf 20 -preset slow \
  -pix_fmt yuv420p -c:a aac -b:a 160k -movflags +faststart output.mp4
-c:v libx264 picks the H.264 encoder, -crf 20 sets visually lossless quality, -preset slow spends CPU to save space, -pix_fmt yuv420p converts ProRes colour into a format every browser plays, and -movflags +faststart moves the index to the front so the file streams.
Bring a Retina or 4K recording down to 1080p:
ffmpeg -i recording.mov -vf "scale=-2:1080" -c:v libx265 -crf 24 \
  -tag:v hvc1 -c:a aac -b:a 128k -movflags +faststart output.mp4
scale=-2:1080 fixes the height and lets ffmpeg pick an even width that keeps the aspect ratio, and -tag:v hvc1 is the tag Apple players need before they will touch H.265. Expect roughly 80 to 90 percent off a 4K ProRes source.
Online MOV compressors: what the tool pages do not tell you
Uploading one small file is the fastest route when nothing is installed. The limits sit on pricing pages and in terms, so here is what each tool states on its own MOV page.
| Tool | Free size cap (as stated) | Watermark | Output format | Account | Stated retention |
|---|---|---|---|---|---|
| FreeConvert | "Max file size 1GB" | Not mentioned | Not specified | Not stated | Not stated |
| VEED | Not stated | Not mentioned | "automatically converted to MP4" | "No credit card required" | Not stated |
| mp3.to | "up to 1 GiB per file" | "no watermark" | Not stated | "No account" | Deleted after the job |
| TinyWow | Not stated | Not mentioned | Not specified | Not stated | "deleted 1 hour after upload" |
| Clideo | "a 500 MB video for free" | Not mentioned | Not specified | "without registering" | Not stated |
| Flixier | Not stated | "No watermark on video" | "all your files in an MP4 format" | "No account required" | Not stated |
Two of these tools hand you back an MP4 whether you asked or not, and four of the six say nothing about how long your upload sits on their servers.
That retention gap matters. A screen recording routinely contains an internal dashboard, a client name or an open inbox. Uploading it to a free third-party service is a data-handling decision, not a neutral convenience. The offline methods above keep work footage on your machine.
Troubleshooting: when compression goes wrong
Audio drifts out of sync. Screen recordings are usually variable frame rate. Force a constant rate with -r 30 in ffmpeg, or Constant Framerate in HandBrake.
Transparency disappeared. H.264 and H.265 in an MP4 have no alpha channel, and yuv420p discards it. Keep ProRes 4444 in a MOV and accept the size.
It will not play on Windows. Almost always HEVC. Re-encode to H.264 at CRF 22 and it plays without the recipient installing anything.
The output is bigger than the input. You re-encoded an already-compressed file at a quality target above its real quality. Check the source data rate, and remux instead.
Quality collapsed. Usually resolution was reduced instead of bitrate. Small text survives a higher CRF far better than being scaled down, so protect resolution and give up frame rate.
Record a smaller MOV in the first place
Compression is repair work. Most oversized MOV files were oversized the moment they were recorded.
Three habits fix that. Capture a region instead of the whole display, since halving width and height leaves a quarter of the pixels. Record short UI demos as a GIF: converting MOV to GIF on Mac covers that, and you can reduce the GIF file size with our GIF compressor if it gets heavy. And share a link rather than an attachment, which sidesteps the 20 to 25 MB cap.
ScreenSnap Pro is built around those habits. It records a region, window or full screen with mic and system audio, writes straight to GIF with no conversion step, and uploads to a shareable link. It does not compress or edit existing video, so the methods above remain your route for a file you already have. Mac and Windows, one-time $39, no watermarks. See what is included.
Working mostly on Windows? Our guide to reducing video file size on Windows covers the same ground.
Frequently asked questions

Morgan
Indie DeveloperIndie developer, founder of ScreenSnap Pro. A decade of shipping consumer Mac apps and developer tools. Read full bio
@m_0_r_g_a_n_