How to Screenshot on a Surface (2026): No Print Screen Key
Most Surface tablets have no Print Screen key at all, so the fastest capture on a Surface Pro or Surface Go is a hardware combo: press and hold the Power button, then press Volume Up. The screen dims for a second and the image lands in Pictures, then Screenshots. On a Surface Laptop that combo does nothing, so use Windows + Shift + S instead.
Not certain your device is a Surface? Identify your computer first. On a different brand? Jump to HP, Dell, Lenovo, ThinkPad, Asus, or Acer.
That is the short version of how to screenshot on Surface hardware. Every other Windows guide opens with "press PrtSc," and on a Surface that advice falls apart before you begin. Pull the keyboard off a Surface Pro and there is no keyboard left to press. Leave a recent one attached and the key you are hunting for has been swapped out for something else.
This guide covers every Surface form factor, starting with the methods that need no keys at all.
Why the usual Windows advice fails on a Surface
Three things set Surface apart from a normal Windows laptop.
The keyboard detaches. On a Surface Pro, Surface Go, and Surface Book, the Type Cover or keyboard base pops right off. In tablet mode you have a touchscreen, a pen, and two physical buttons. No key combination can help you there.
The Print Screen key moved or vanished. Older Type Covers put PrtSc in the top row. Newer Surface keyboards replaced it with a dedicated Snipping key, and Microsoft now documents Windows + Snipping key as the modern equal of Windows + PrtSc.
The button combo is easy to get wrong. Plenty of guides list Volume Down + Power for Surface. That is the combo for the Surface Duo, which is an Android phone. On a Surface Pro, Surface Go, Surface Book, or Surface Studio, it is Volume Up.
How to screenshot on Surface without a Print Screen key
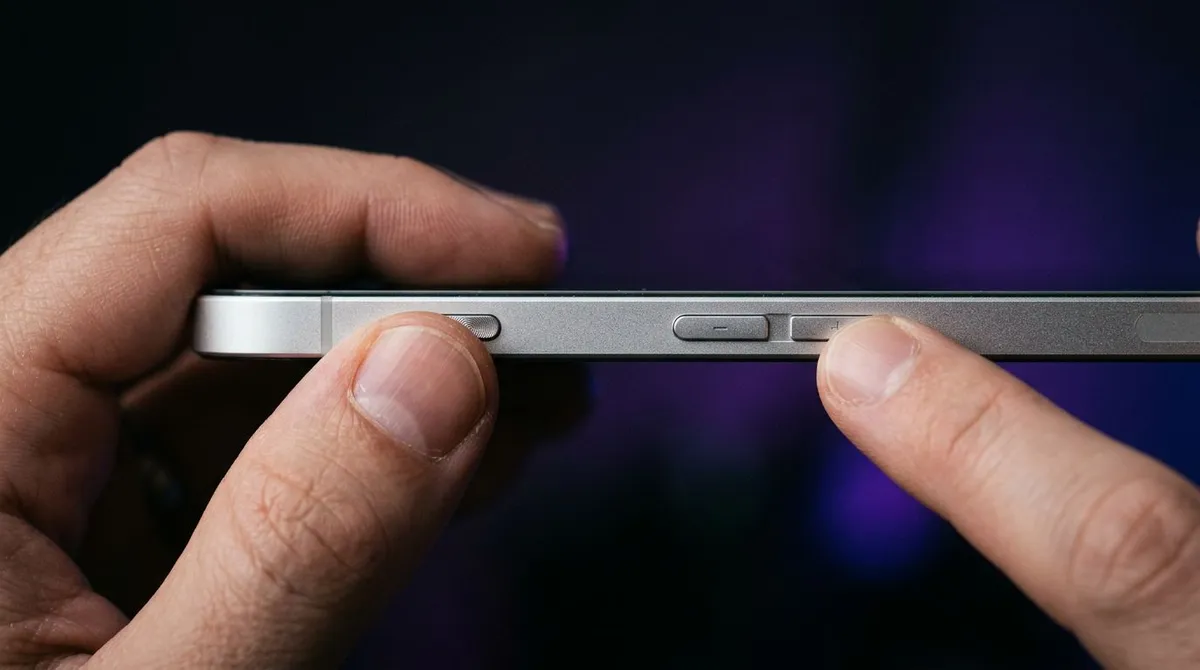
This is the one to memorize if you use your Surface as a tablet. Hold the Power button on the top edge, then press Volume Up while you keep holding it. Release both, and the screen dims for a moment to confirm the shot.
The file saves on its own as a PNG in Pictures, then Screenshots. Nothing goes to the clipboard, so there is nothing to paste anywhere.
Microsoft lists this shortcut for Surface Pro, Surface Book, Surface Go, and Surface Studio, and says plainly that it does not work on a Surface Laptop.
Surface Pro and Surface Go
Both are detachable tablets, so the button combo is your main method. It works with the Type Cover attached or removed, in any orientation, and even on the lock screen. Surface Pro 7, Surface Pro 9, Surface Pro 11, and every Surface Go behave the same way here.
Surface Laptop and Surface Laptop Studio
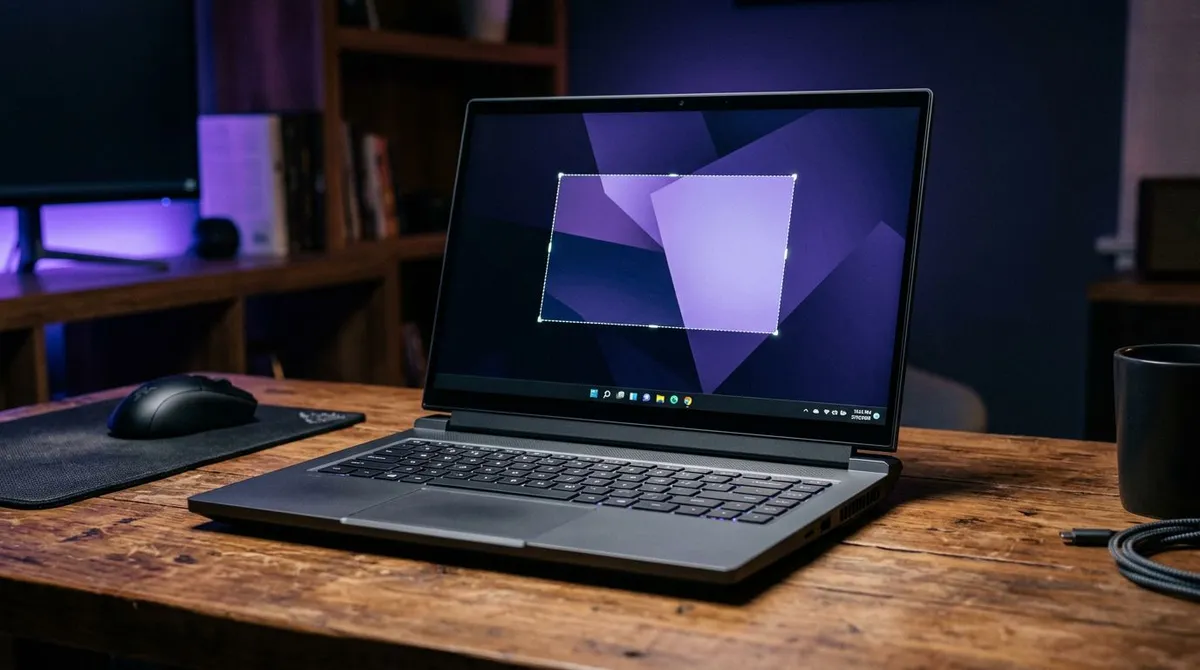
The Surface Laptop is a clamshell with a fixed keyboard, which is why Microsoft leaves it out of the button shortcut. You always have keys in front of you, so press Windows + Shift + S for a region or Windows + PrtSc for the whole screen. If your keyboard has a Snipping key where PrtSc used to sit, tap that key on its own to open the snip toolbar.
Surface Book and Surface Studio
The Surface Book screen detaches into a tablet, so Power plus Volume Up is the answer once it is off the base. Surface Studio is a desktop, and its volume buttons sit on the right edge of the display.
Older Surfaces with a Windows logo on the bezel
If your Surface has a touch-sensitive Windows logo below the screen (Surface Pro 3 and earlier, plus Surface RT and Surface 2), the combo is different. Hold that logo button and press Volume Down. Microsoft dropped the bezel button after Surface Pro 3, and that is when Power plus Volume Up took over.
Take a screenshot with the Surface Pen
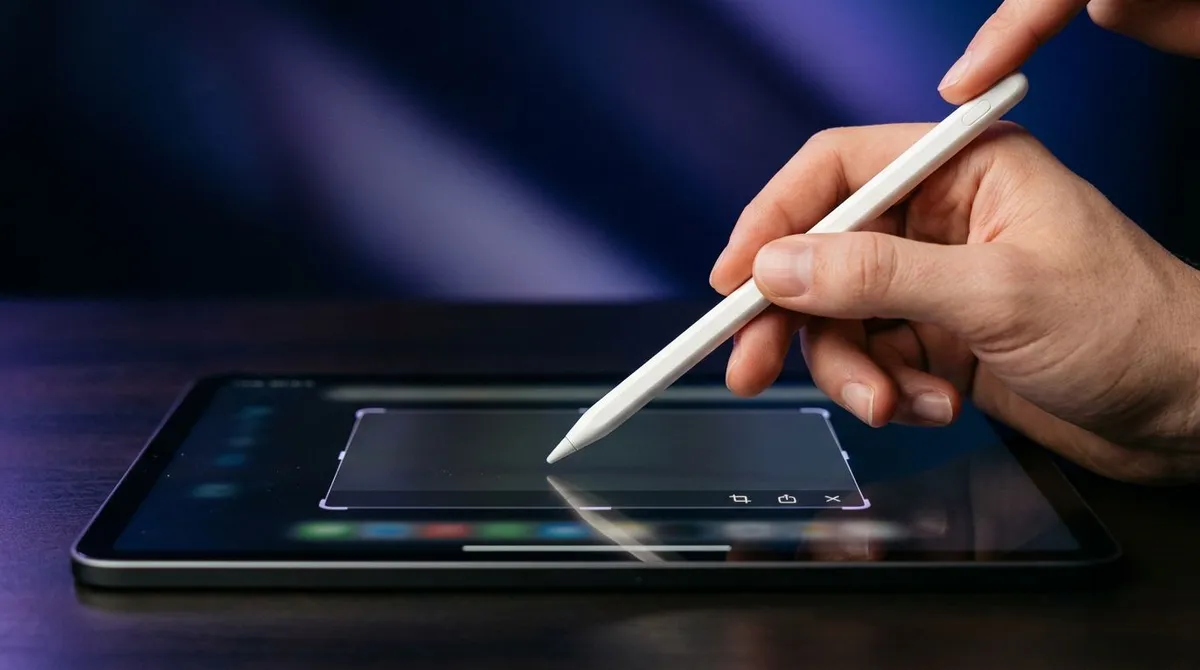
If you own a Surface Pen or a Surface Slim Pen, the flat button on the top end is a shortcut button. Out of the box, a double-click grabs the whole screen and opens it in the Snipping Tool, ready for markup.
Single click, double click, and press and hold are all configurable. Open Settings, then Bluetooth & devices, then Pen & Windows Ink, and pick what each gesture does. On Windows 10 the path is Settings, then Devices, then Pen & Windows Ink. Microsoft covers each option in its guide to changing pen settings.
Two things to check when the button seems dead. The pen has to be paired over Bluetooth for the shortcut to fire, and a flat battery kills the button while the tip keeps writing as normal. That combination throws a lot of Surface owners, because the pen still draws perfectly.
Pro tip: on a detached Surface Pro, the pen is the fastest route of all. You capture and mark up the shot without reaching for a single button.

Tired of plain screenshots? Try ScreenSnap Pro.
Beautiful backgrounds, pro annotations, GIF recording, and instant cloud sharing, all in one app. Pay $39 once, own it forever.
See pricing and featuresType Cover shortcuts that still work
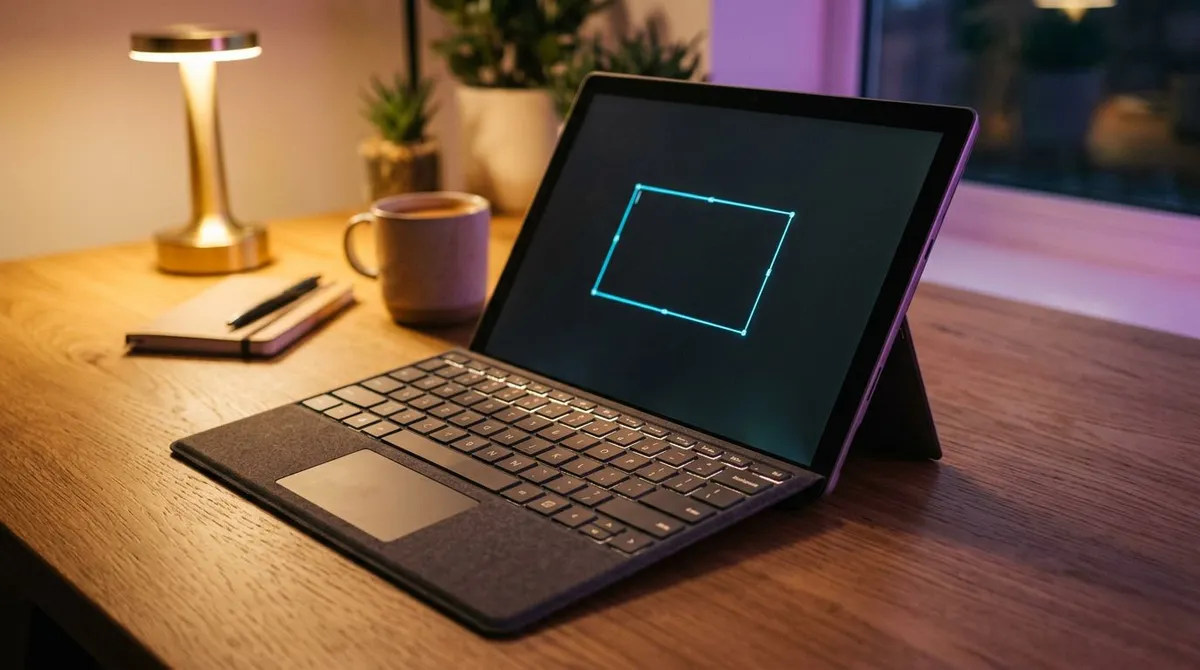
With a keyboard attached, the standard Windows shortcuts are all back on the table. Here is the short version.
| Method | Keys | What it captures | Where it goes |
|---|---|---|---|
| Save full screen | Windows + PrtSc or Snipping key | Entire screen | Pictures, then Screenshots |
| Snip a region | Windows + Shift + S | Any area you drag | Clipboard, then Snipping Tool |
| Snip with no PrtSc key | Fn + Spacebar | Opens the snip toolbar | You choose |
| Copy active window | Fn + Alt + Spacebar | The window in focus | Clipboard only |
| Copy full screen | PrtSc | Entire screen | Clipboard only |
| Copy active window | Alt + PrtSc | The window in focus | Clipboard only |
| Snipping Tool app | Open from Start | Region, window, full screen | You pick the folder |
| Game Bar | Windows + G | Games and app windows | Videos, then Captures |
The two rows worth learning are the Fn ones. Microsoft added them because Surface keyboards are cramped and often ship without PrtSc at all.
Fn + Spacebar opens the Windows screen snip so you can grab a window or part of the desktop. Fn + Alt + Spacebar drops the active window straight into the clipboard. Those two are the Surface answer to a missing Print Screen key. If you want the delay timer and the built-in editor, Microsoft has a full Snipping Tool walkthrough.
Where Surface screenshots are saved
A Surface gives you two very different kinds of capture, and only one kind leaves a file behind. The hardware and pen routes write to disk on their own. The keyboard routes mostly do not.
Power+Volume Up,Windows+PrtSc, and the Snipping key write a PNG to Pictures, then Screenshots.PrtSc,Alt+PrtSc, andFn+Alt+Spacebarcopy to the clipboard only. Paste withCtrl+Vto keep them.Windows+Shift+Scopies to the clipboard and shows a preview. Click it, then choose Save As.- Game Bar captures land in Videos, then Captures.
One Surface specific catch: many Surfaces ship with OneDrive backup switched on, so your Screenshots folder can live inside OneDrive instead of the local drive. That is why the folder sometimes looks empty when you are offline. Our guide to where screenshots go on Windows walks through every location and how to change the default.
Clean up a whole-screen capture afterwards
Notice what the two no-keyboard methods have in common: Power + Volume Up and the Pen double-click both take the entire display. Neither one lets you draw a box first. On a Surface, choosing the part that matters is something you do after the shot, not during it.
That makes the free image annotation tool a natural fit for tablet mode. It opens in a browser tab on the Surface itself, accepts pen strokes on the touchscreen, and puts an arrow or a blur exactly where you want one with nothing to install. Once the markup is done, our steps for cropping a screenshot on Windows trim away the empty stretch of that tall 3:2 panel. If the file also needs a quick resize or a format change, editing screenshots on Windows covers the tools built into system.
When hardware buttons stop being enough
Look back at what this guide had to teach you. The right combo depends on whether the Type Cover is on or off, whether your Surface has a bezel logo, whether the pen is paired and charged, and whether your keyboard shipped with PrtSc or a Snipping key. That is a lot of conditional knowledge for one small task, and none of it survives the moment you hand the tablet to a colleague.
ScreenSnap Pro replaces the whole decision tree with one trigger that behaves the same on every Surface you own. The capture lands in a markup view immediately, so the pen you already have in your hand can circle the thing you meant to point at. Cloud upload turns the result into a link you paste into Teams, which spares you the usual hunt through a Screenshots folder that may or may not be syncing to OneDrive that morning.
One $39 one-time purchase covers two computers across Windows and Mac, which fits the way Surfaces get used: tablet in the meeting, desktop afterwards.
Being straight about it: if Power + Volume Up covers you once a week, that is already the right tool and it costs nothing. If you would rather compare the field first, see our roundup of the best screenshot tools for Windows.
Frequently Asked Questions

Morgan
Indie DeveloperIndie developer, founder of ScreenSnap Pro. A decade of shipping consumer Mac apps and developer tools. Read full bio
@m_0_r_g_a_n_