How to Screenshot Only One Monitor (Dual Display Fix)
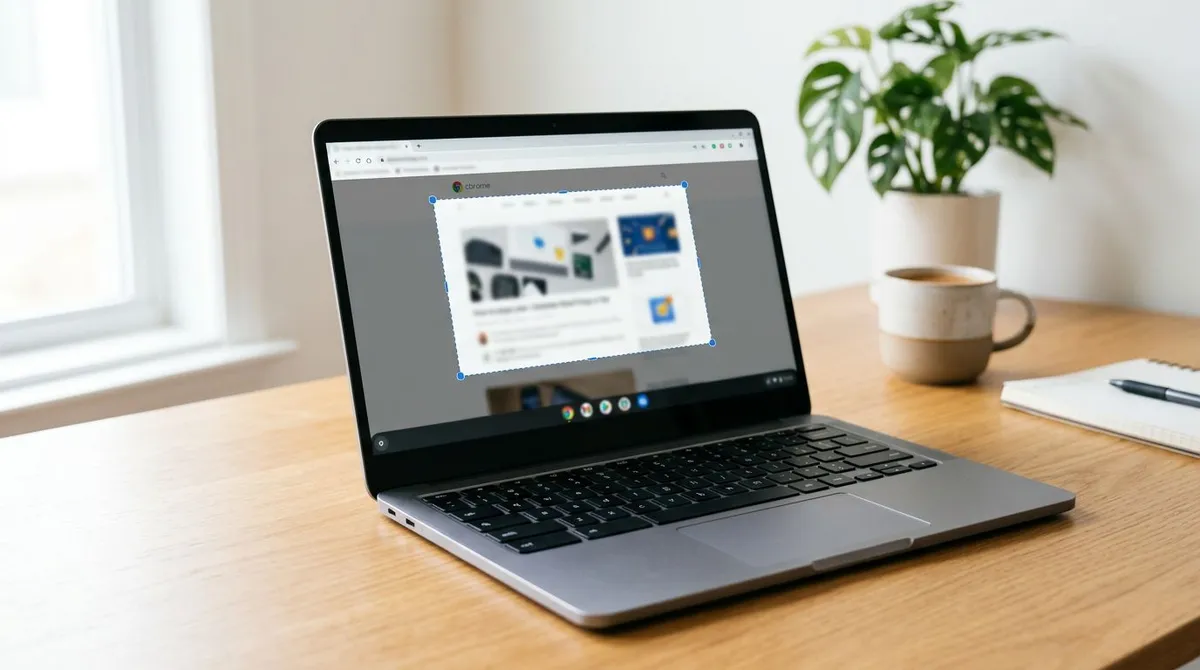
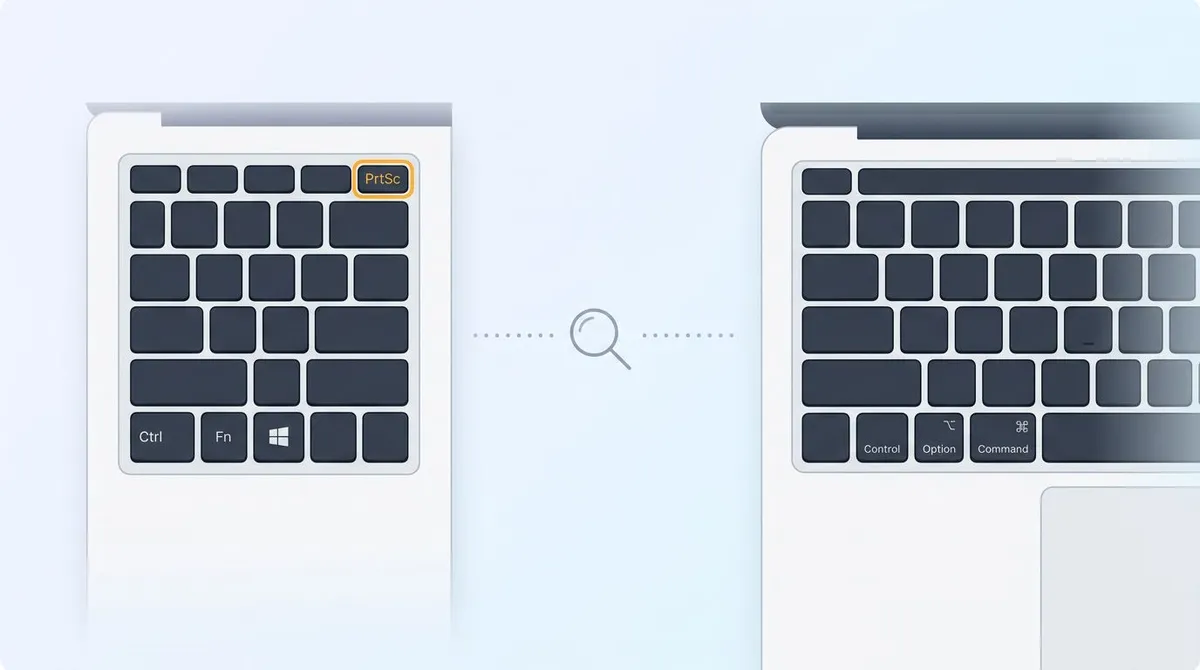
On Windows, press Win + Shift + S and drag a rectangle inside the display you want, which keeps the capture on one monitor. On Mac, press Cmd + Shift + 3: macOS already writes one separate PNG per display, so your second monitor lands in its own file. Print Screen alone grabs every display at once.
That is the short version of how to screenshot only one monitor. The detail matters, because the two operating systems disagree about what a "screen" is.
Why Print Screen grabs every monitor at once
Windows does not treat your monitors as separate screens. It stitches them into one coordinate space that Microsoft's own documentation calls the virtual screen: the bounding rectangle around every attached monitor, with the desktop painted across all of it rather than onto any single panel.
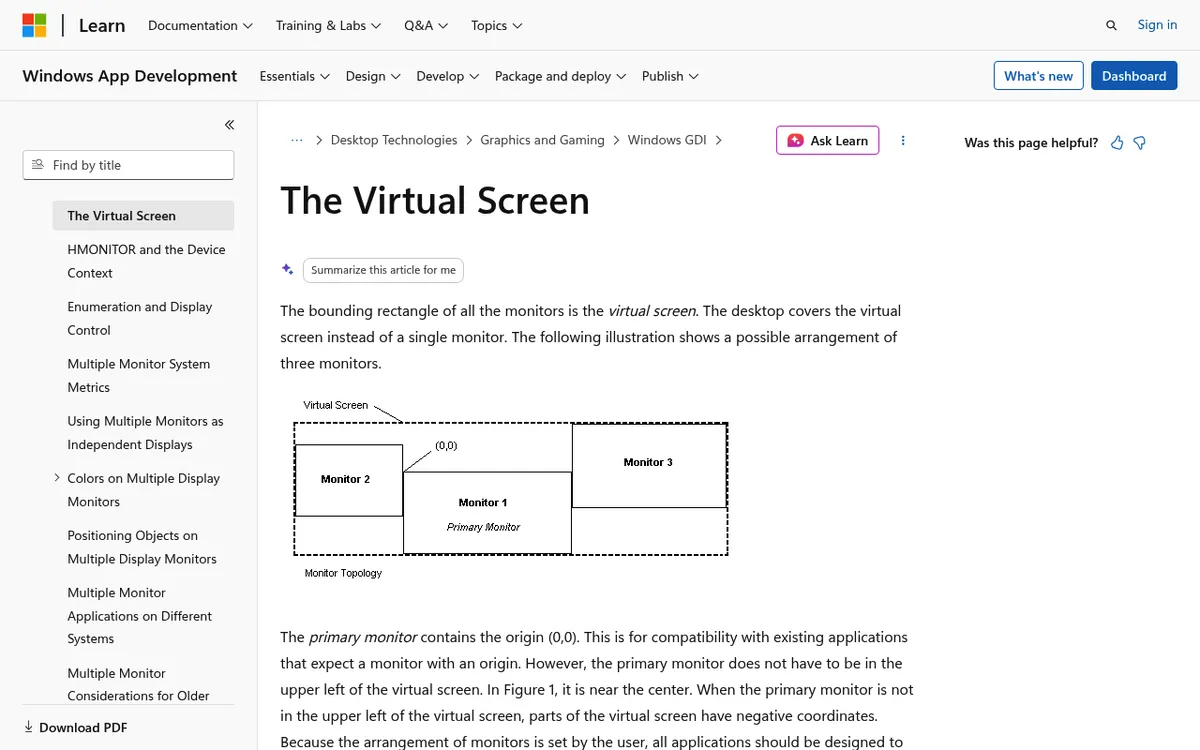
So Print Screen is doing exactly what it was told to do. Microsoft's multi-monitor reference is explicit: PrtScn "takes a snapshot of the entire virtual screen", and so does Ctrl + PrtScn. Two 1440p panels side by side give you one 5120 by 1440 PNG with a hard seam down the middle.
One caveat before you blame the key. On current Windows 11 installs, a keyboard setting redirects PrtScn to the Snipping Tool overlay instead of the clipboard. Microsoft's reference lists that exception right next to the default behaviour. So if Print Screen opens a snip overlay rather than pasting a wide image, the setting is on, and you already have the tool you want. It sits in Settings under Accessibility then Keyboard.
macOS works the other way around. Each display is its own capture target, which is why the same keystroke behaves differently there. That one difference explains every quirk below.
How to screenshot only one monitor on Windows
Ranked by how reliably each method isolates a single display.
Win + Shift + S (the one that actually works)
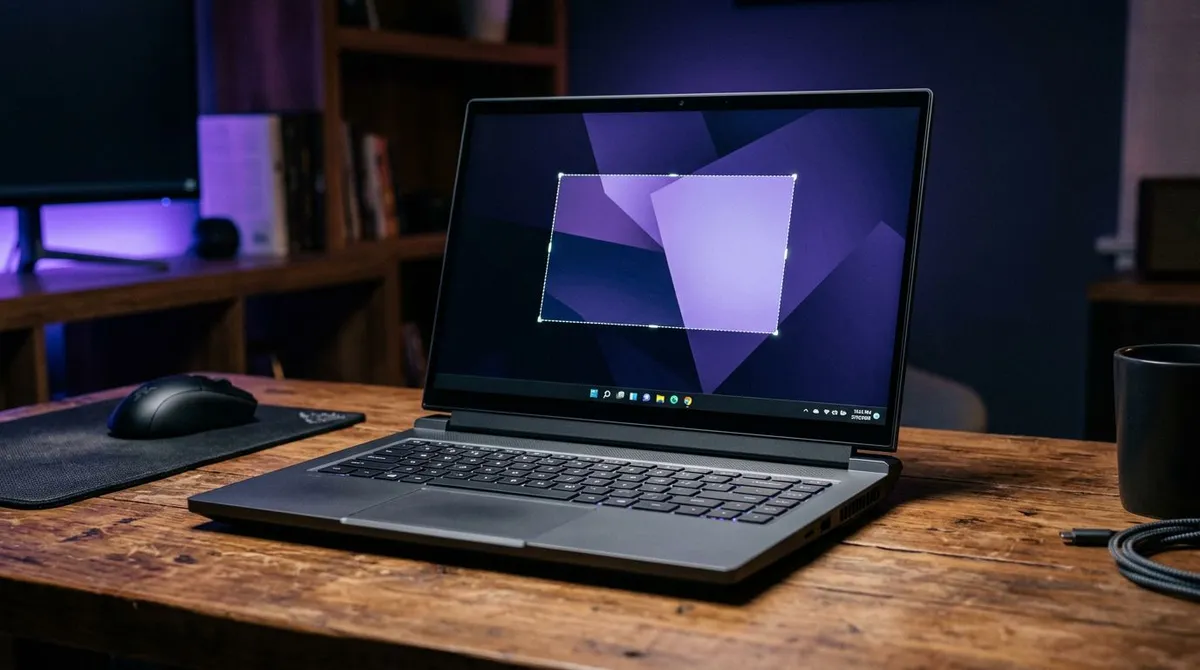
Press Win + Shift + S. The screen dims and the cursor turns into a crosshair. Drag from one corner of the target display to the opposite corner and you have that monitor and nothing else.
Two things to know. The dimming overlay covers your whole virtual screen, not just the active display, so every monitor looks dark. And nothing stops your drag at the bezel. Overshoot the edge by a few pixels and you get a silent cross-display grab with a strip of the neighbouring desktop attached.
Snips land on your clipboard first, then in a notification you can click to open in Snipping Tool. Microsoft documents the full mode list in its Snipping Tool guide. If the overlay refuses to appear on a second display, see Win + Shift + S not working.
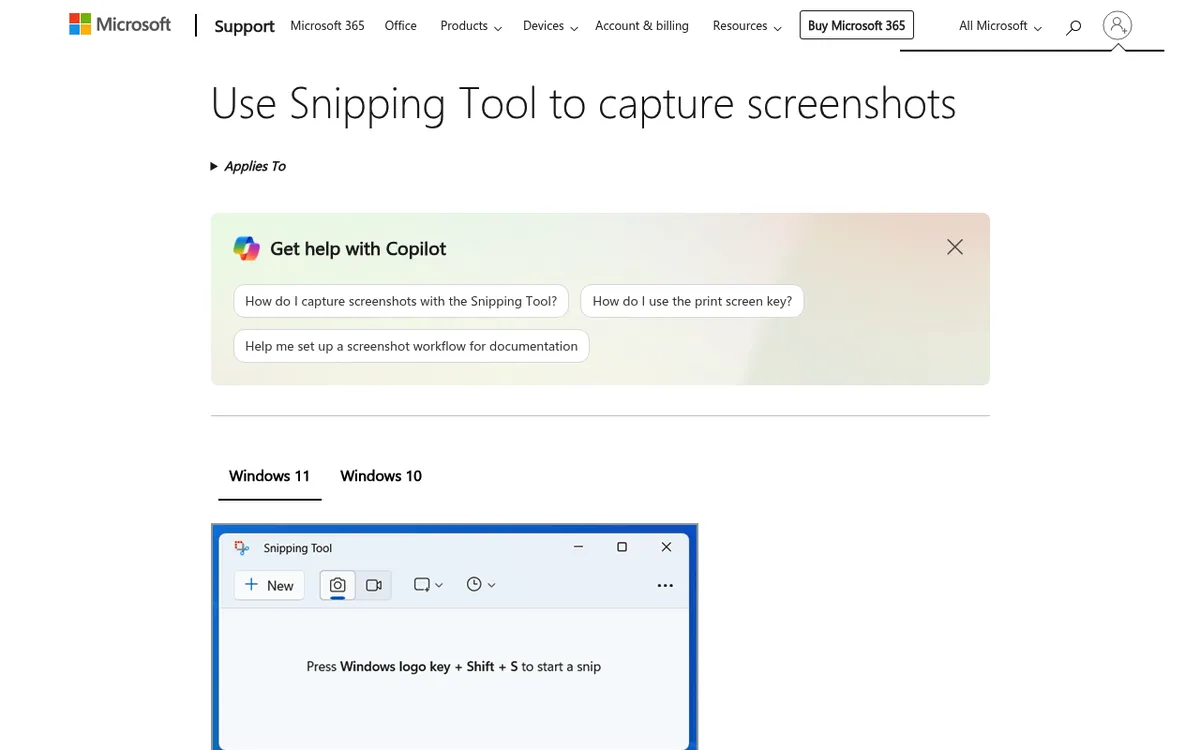
Alt + Print Screen captures a window, not a monitor
This is the advice you see everywhere, and it is not what people think. Alt + PrtScn copies the active window, which Microsoft describes as a snapshot of the foreground window. It has no concept of monitor boundaries.
That distinction bites in three cases:
- The window is not maximised, so you get the window and none of the surrounding desktop.
- No window is focused, so a bare desktop gives you nothing useful.
- The window is stretched across two displays, so the capture spans both anyway.
It looks like a monitor capture only when one maximised window happens to fill the target display. Useful, but it is a window shortcut wearing a monitor costume.
Win + Print Screen saves the whole virtual screen
Win + PrtScn dims the screen briefly and writes a PNG to disk instead of the clipboard. It captures every display, so you will be cropping the result afterwards. Files land in a Screenshots folder inside Pictures by default, and where screenshots go on Windows covers how to change that.
Win + Alt + Print Screen (Xbox Game Bar)
Win + Alt + PrtScn grabs the focused app window through Game Bar and saves it under Videos in a Captures folder. Like Alt + PrtScn, it is window scoped rather than display scoped, and it needs an app in focus rather than the desktop. Our Xbox Game Bar guide covers the capture settings.
For the rest of the keyboard, the full Windows screenshot shortcut list is the reference, and partial screenshots on Windows covers freehand area selection.
How to screenshot one display on a Mac
Mac users get the better deal here, and almost no guide says so.
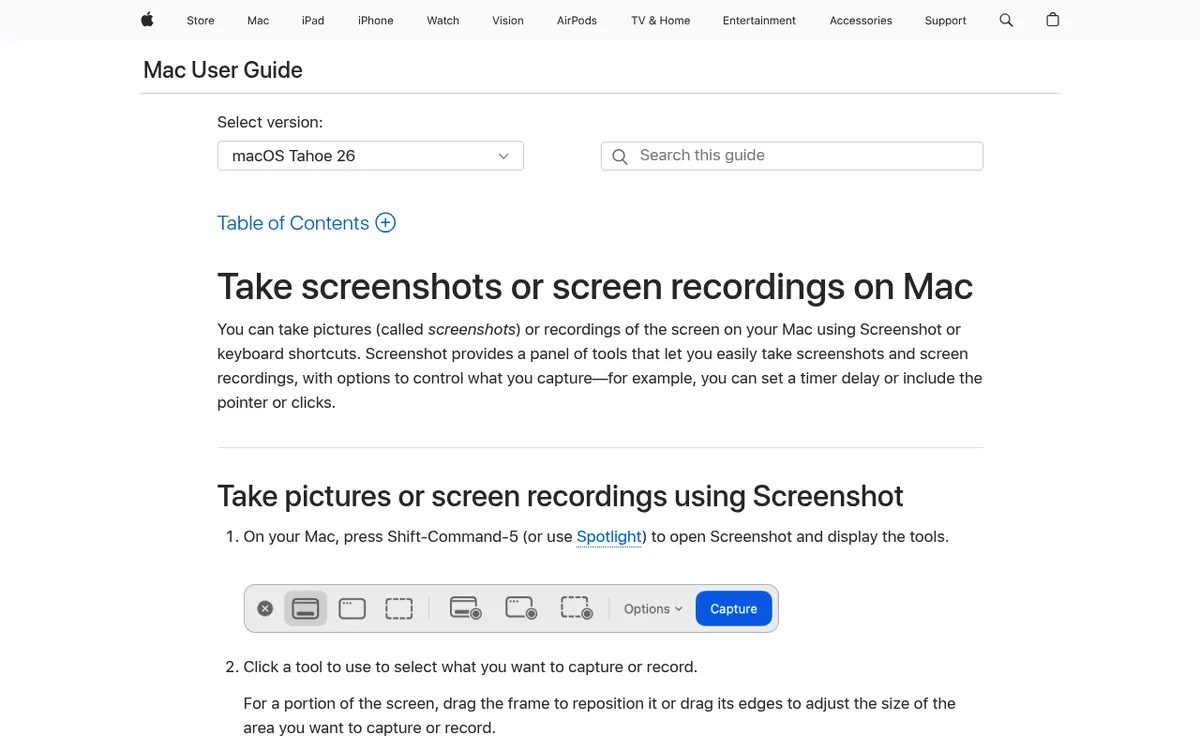
Cmd + Shift + 3 captures every display, but writes one separate file per display. Two monitors give you two PNGs, already cropped along the physical screen edges. Nothing to trim. Apple documents the shortcut in Take a screenshot on your Mac.
Cmd + Shift + 5 opens the Screenshot toolbar. Choose Capture Entire Screen, then click the display you want. This is the closest thing either platform has to a real "pick a monitor" control.
Cmd + Shift + 4 then Space switches to camera mode and captures the window under your pointer, on whichever display the pointer sits. Move the cursor to the other monitor and the highlight follows.
One correction, because several popular guides get this wrong: Cmd + Shift + 4 on its own does not give you a monitor. It gives you a crosshair for dragging a region, exactly like the Windows snip, with the same risk of running across a display boundary.
To route the files differently, macOS screenshot settings covers format and save location, where screenshots go on Mac covers the default folder, and screenshot a window on Mac goes deeper on window capture. New to all of it? Start with how to screenshot on Mac.

Tired of plain screenshots? Try ScreenSnap Pro.
Beautiful backgrounds, pro annotations, GIF recording, and instant cloud sharing, all in one app. Pay $34 once, own it forever.
See pricing and featuresMulti-monitor gotchas nobody documents
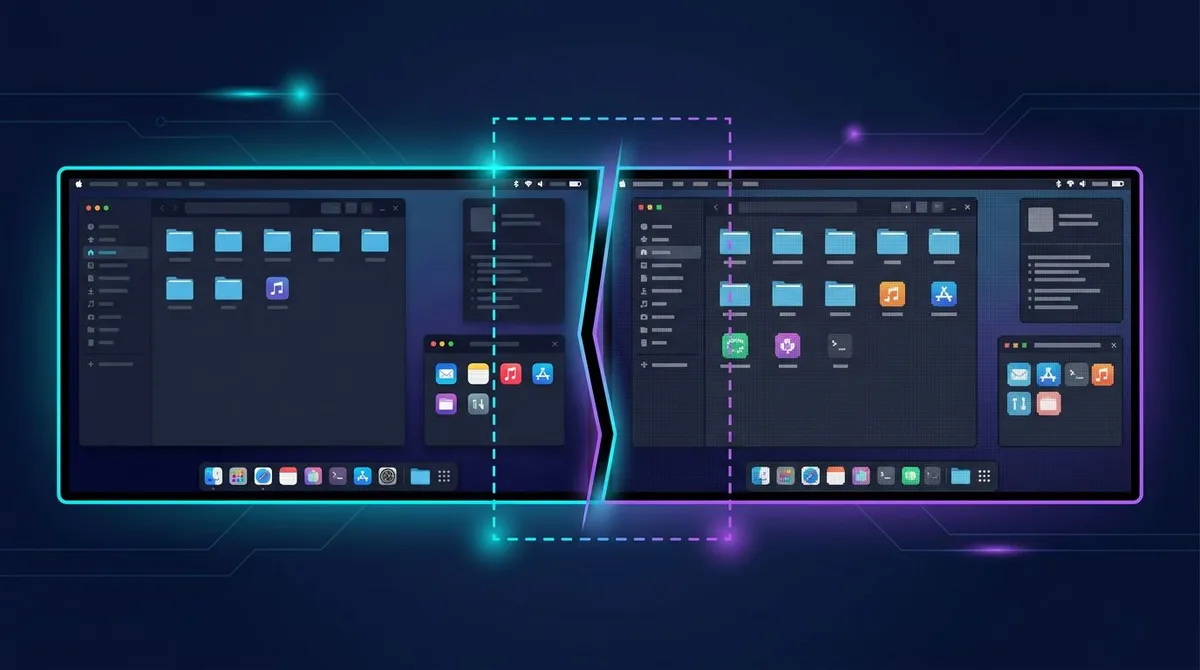
Mixed resolution and mixed scaling. Windows applies scaling per monitor. A snip from a 4K panel at 150% pasted beside one from a 1080p panel at 100% looks oversized or soft, because the pixel density differs. Take both shots on the same display when they sit side by side.
Snips that cross a bezel. The clue is the aspect ratio. If a snip came out unusually wide, or carries a sliver of the wrong wallpaper on one edge, the drag crossed a display boundary. Redo it, or crop it down.
Which monitor did this come from? Nothing in a clipboard image or a filename tells you. Compare the pixel dimensions against each panel's resolution in Settings then System then Display on Windows, or System Settings then Displays on Mac.
Remote desktop and virtual displays. An RDP session usually presents one combined display unless multiple monitor support is enabled, so capture geometry will not match your hardware. Virtual display drivers and headless adapters do the reverse: the OS counts a display you cannot see, which is why a full-screen capture sometimes includes a black rectangle.
Single-monitor capture cheat sheet
| Method | Platform | Exactly one monitor | Cropping needed | One keystroke |
|---|---|---|---|---|
Win + Shift + S | Windows | Yes, if the drag stays inside it | No | No, an overlay |
PrtScn | Windows | No, whole virtual screen, or a snip overlay on Windows 11 | Yes | Yes |
Alt + PrtScn | Windows | No, active window | Sometimes | Yes |
Win + PrtScn | Windows | No, all displays, saved to file | Yes | Yes |
Win + Alt + PrtScn | Windows | No, focused app window | Sometimes | Yes |
Cmd + Shift + 3 | Mac | Yes, one file per display | No | Yes |
Cmd + Shift + 5 | Mac | Yes, you click the display | No | No, a toolbar |
Cmd + Shift + 4 then Space | Mac | No, one window | No | No |
Annotating and sharing a single-display capture
Getting the pixels is half the job. The other half is making the capture readable to someone who was not sitting at your desk.
Three habits help. Crop first, so a stitched grab becomes one clean display. Label the monitor when the context is ambiguous, because "the left screen" means nothing in a shared ticket. And send a link rather than the file when the capture is 5120 pixels wide, since chat clients tend to downscale it into mush.
That crop, annotate, share loop is where built-in tools run out. ScreenSnap Pro handles region, window and full-screen capture, has 17 annotation tools for arrows, text, blur and step counters, and can put the result behind a shareable link instead of an attachment. It is a one-time $34 covering both Mac and Windows on the same license.
Frequently asked questions

Morgan
Indie DeveloperIndie developer, founder of ScreenSnap Pro. A decade of shipping consumer Mac apps and developer tools. Read full bio
@m_0_r_g_a_n_