Background Blur & Noise
Soften a busy wallpaper with Blur or add film grain with Noise. Background effects change only the background, never your screenshot.
What background effects do
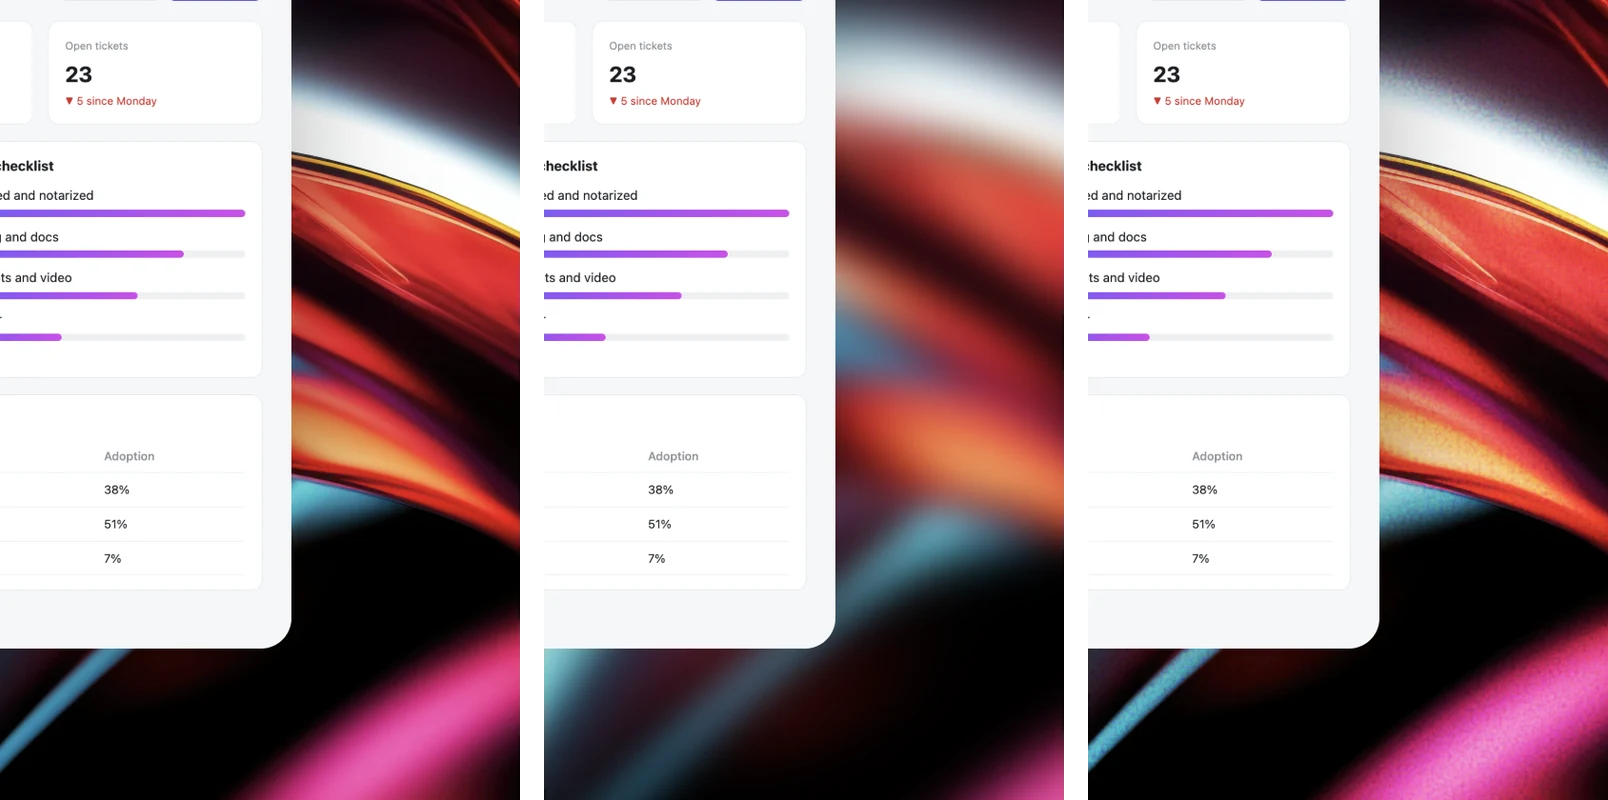
The background effect buttons sit under the shadow buttons in the styling panel: None, Blur (Blur the background) and Noise (Add film grain to the background). Effects only change the background around your screenshot. The screenshot and your annotations are never blurred or grainy.
Add an effect
Effects work on Wallpaper, Gradient and Plain backgrounds.
- 1Pick a background on the
Wallpaper,GradientorPlaintab and make surePaddingis above 0. - 2Click
BlurorNoise. - 3Hover over the effect buttons for a moment until the
Intensityslider appears. - 4Drag
Intensity(0 to 100) to set the strength (Strength of the background effect). ClickNoneto turn the effect off.
When to use Blur
Blur softens a detailed wallpaper into color and light, so the screenshot stands out more. The outer edges of the background stay clean, without a fuzzy border. On a plain color there is nothing to blur, so you will not see a difference.
When to use Noise
Noise lays a fine film grain over the background. It gives smooth gradients and plain colors a subtle texture, so the background looks less flat. Keep Intensity low for a hint of grain or raise it for a stronger look.
Good to know
With a Transparent background or with Padding at 0 there is no background to apply the effect to, so the saved image has no blur or grain, even if the preview still shows the effect on the checkerboard. Your effect and its intensity are saved in presets with the rest of your styling. The video editor has the same None, Blur and Noise options for recordings.