Arrows, Shapes & Paths
How to use the Arrow, Rectangle, Filled Rectangle, Ellipse, Filled Ellipse, Line and Path tools in ScreenSnap Pro, with shortcuts and options.
Arrow
Shortcut 1. Drag from where the arrow should start to the thing it points at. Hold Shift while dragging to snap the angle to 45° steps.
A selected arrow has three handles: drag an end handle to move that end (hold Shift to snap its angle), or drag the middle handle to bend the arrow into a curve.
Settings: color, Arrow thickness and Arrow style: Sharp (solid head), Sharp Both (solid heads on both ends), Line (open head) and Line Both.

Rectangle
Shortcut 2. Drag to draw an outlined box. The inside stays clear, so the content remains readable. Hold Shift for a perfect square.
Settings: color, Border thickness and corner shape (Sharp, Curved or Round). Drag the corner or edge handles to resize, and drag the round handle above the box to rotate it. Hold Shift while rotating to snap in 15° steps.

Filled Rectangle
Shortcut 3. Drag to draw a solid box in one color. Hold Shift for a square. Settings: color and corner shape. Resize and rotate it like a Rectangle.
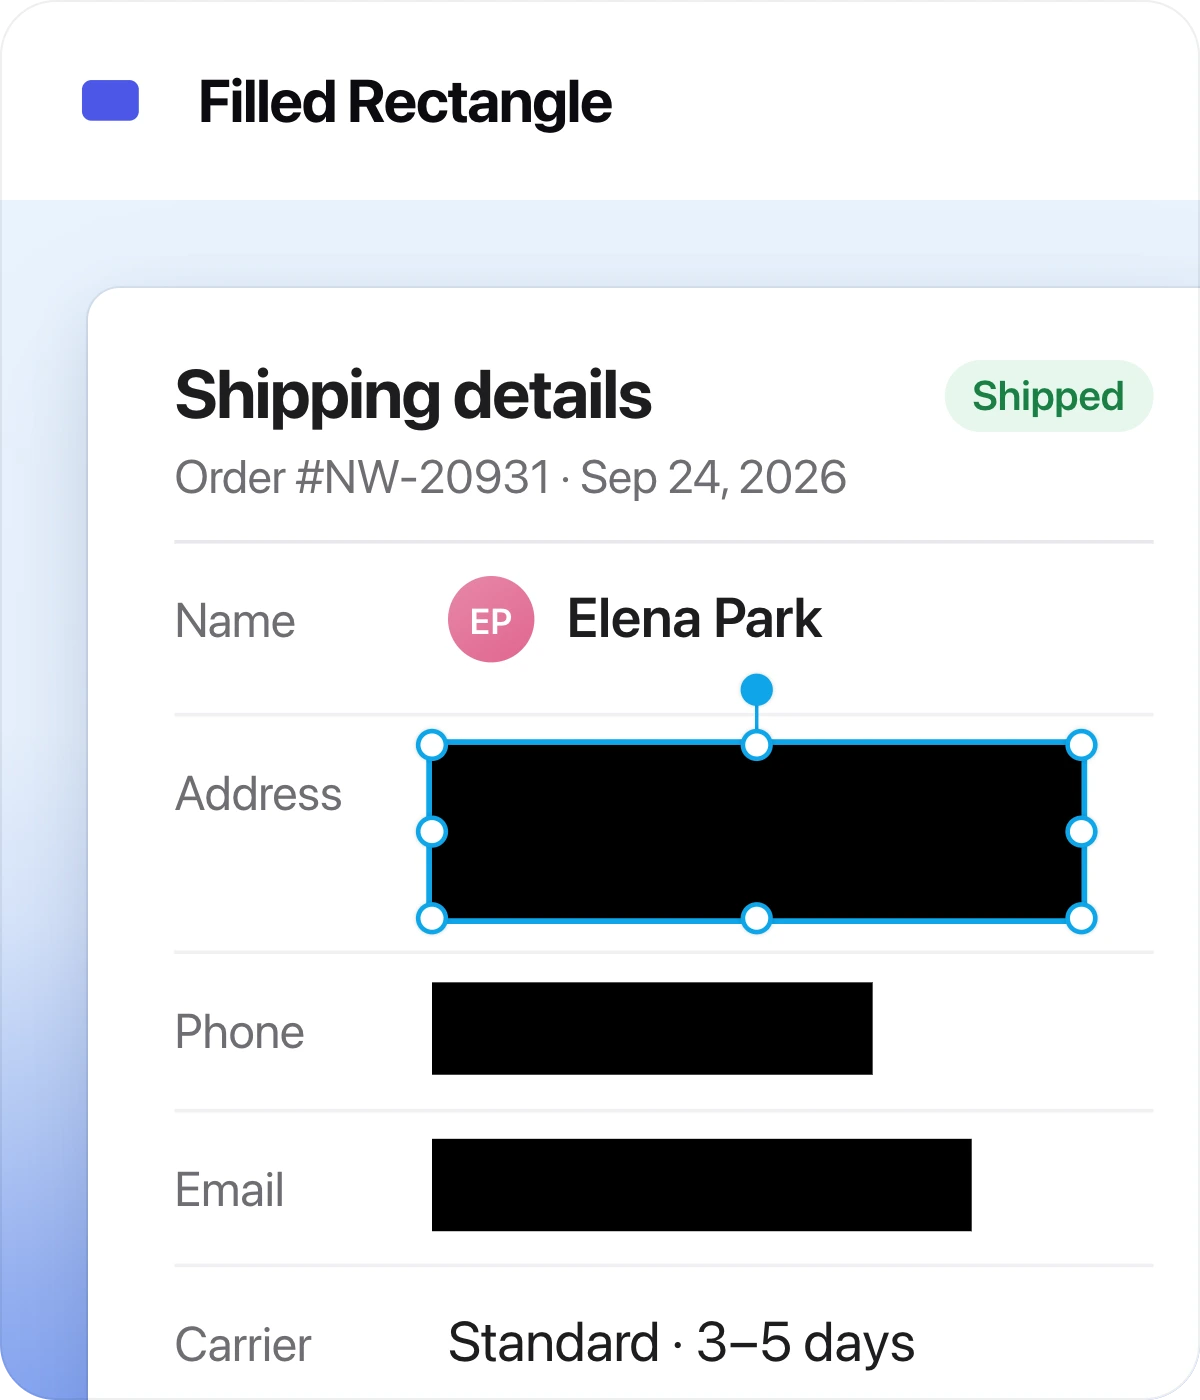
A black Filled Rectangle covers content completely, which makes it a good choice for passwords, keys or personal data. Blur and Pixelate soften content instead of covering it.
Ellipse
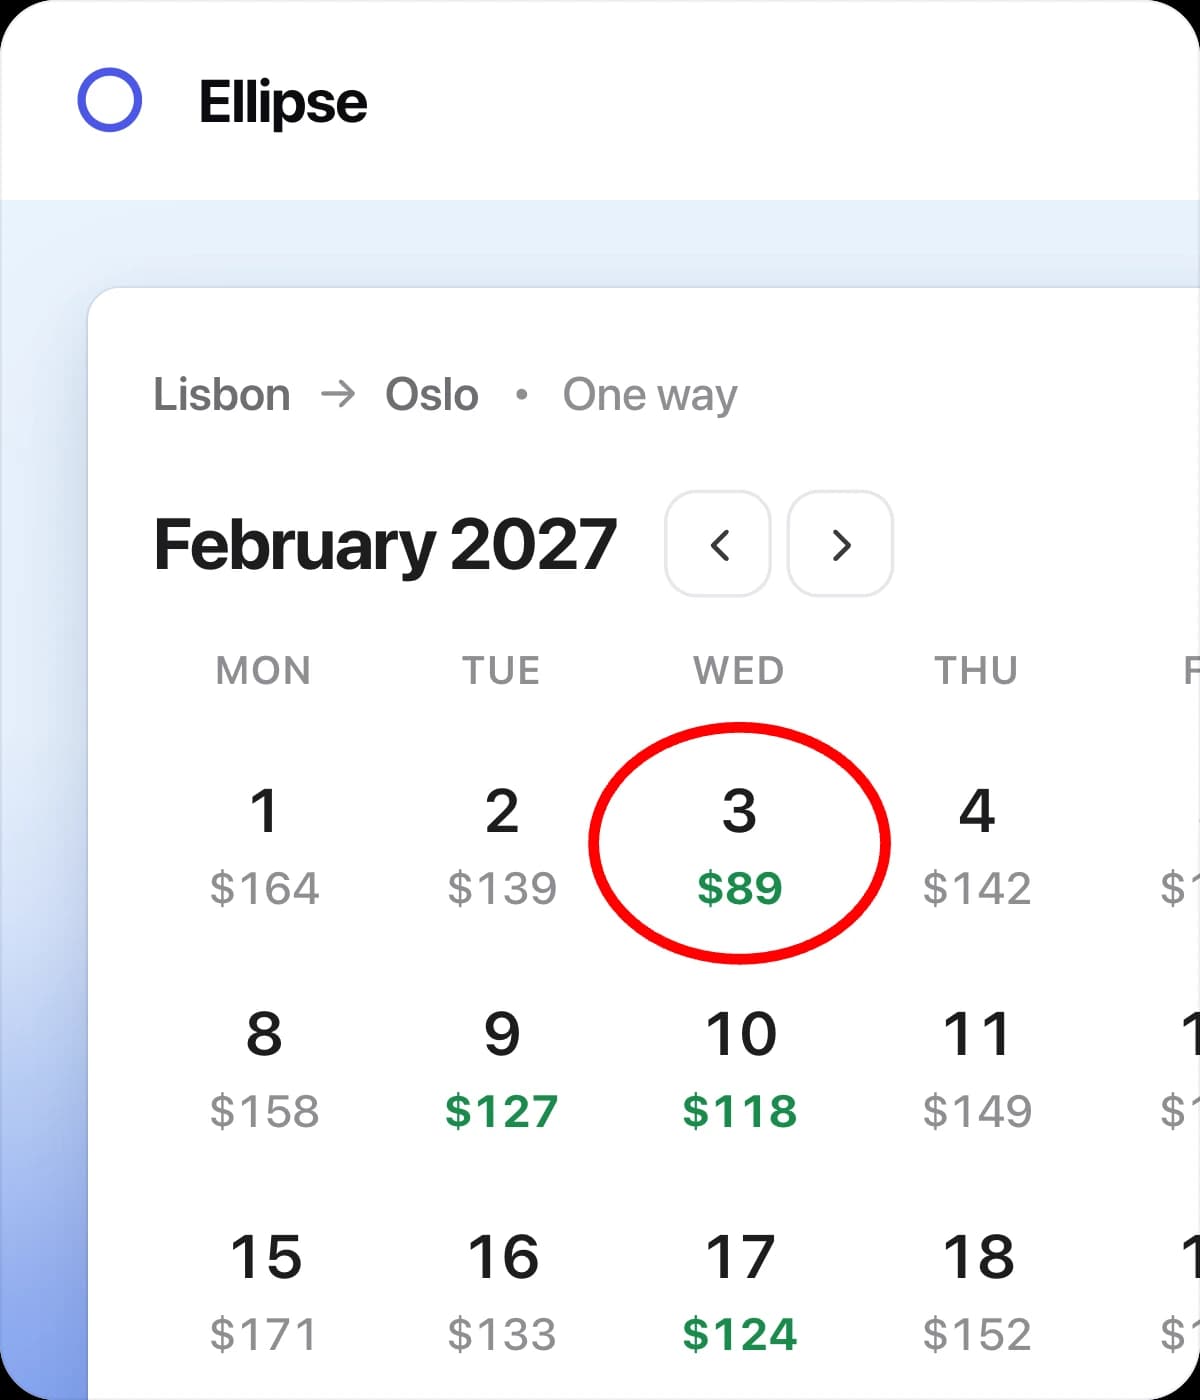
Shortcut 4. Drag to draw an outlined oval. Hold Shift for a perfect circle. Settings: color and Border thickness. Resize and rotate with the handles, like a Rectangle.
Filled Ellipse
Shortcut O. Drag to draw a solid oval, or hold Shift for a solid circle. Settings: color. Use it as a dot to mark a spot on a map, chart or timeline.

Line
Shortcut 5. Drag to draw a straight line. Hold Shift to snap to horizontal, vertical or 45° diagonals. Drag either end of a selected line to adjust it. Settings: color and Line thickness.

Path
Shortcut G. Path draws an outline with as many corners as you need, for irregular areas that a rectangle or ellipse cannot fit.
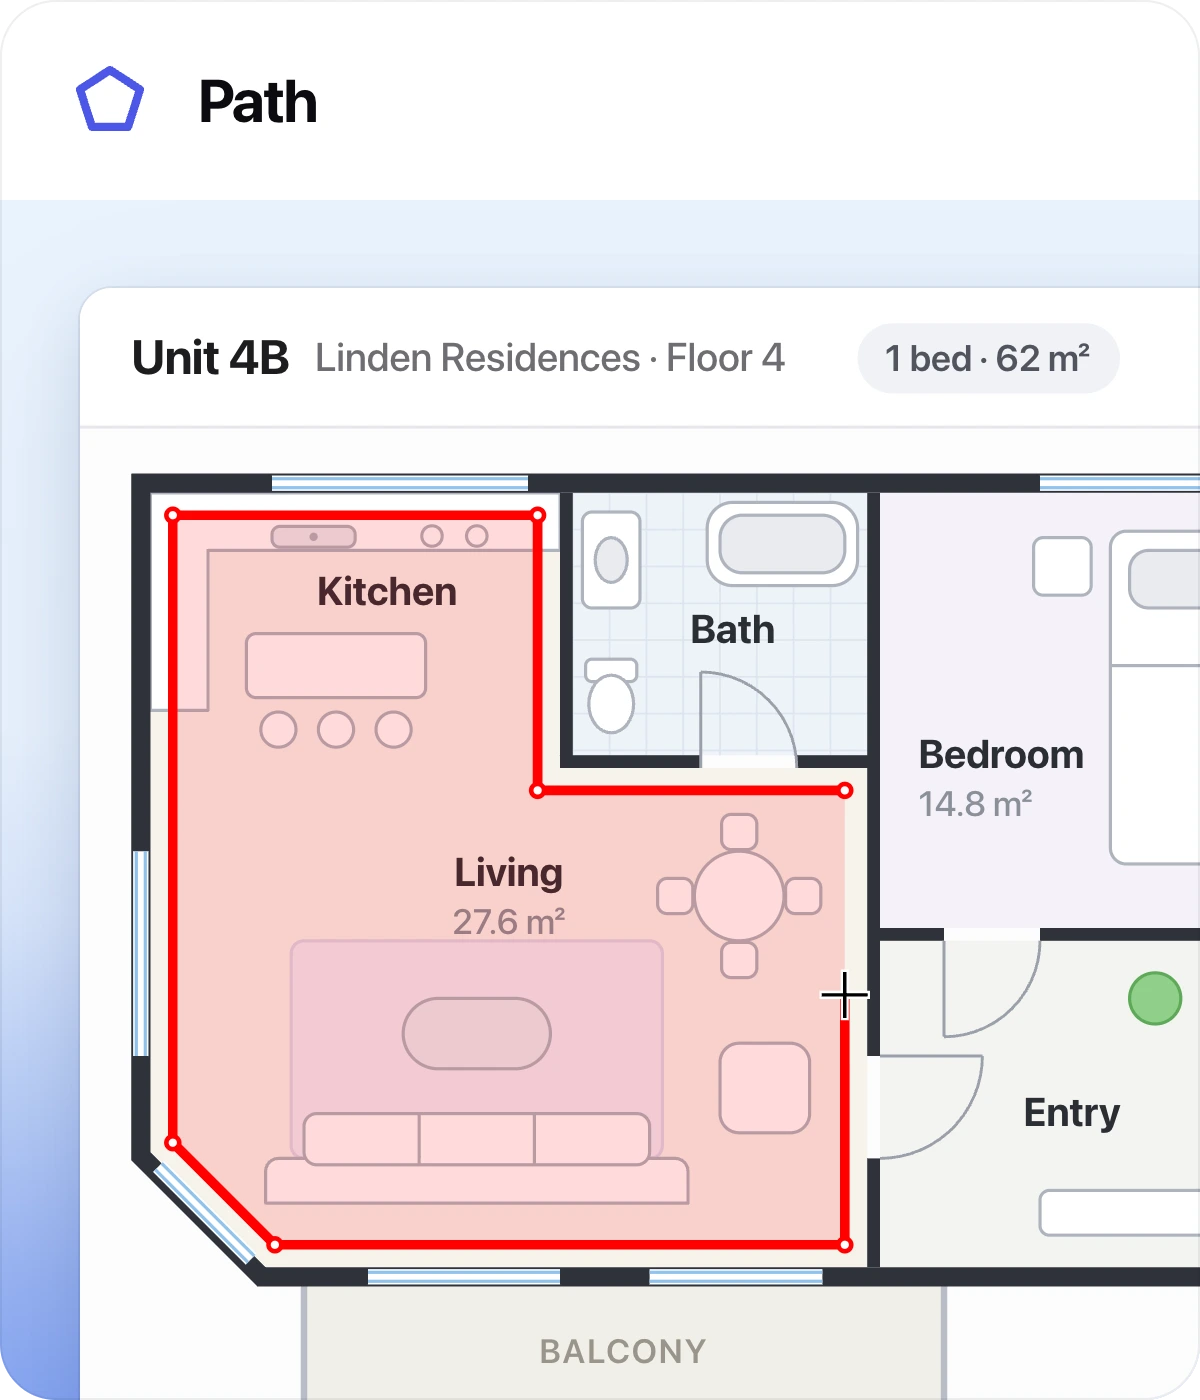
- 1Click once where the path should start.
- 2Click to add a corner at each next point. A line follows your pointer to preview the next side.
- 3To close the shape, click the first point again. The point is highlighted when your pointer snaps to it.
- 4Press
Enteror double-click to finish. PressEscto cancel a path you are still drawing.
After drawing, drag any corner point to move it, drag the side handles to stretch the shape, or drag the rotate handle (hold Shift for 15° steps). In the settings panel, Close (Close path) connects the last point to the first and Fill (Fill path) fills the inside with the path color. You can also change the color and Border thickness.