First Launch and Setup
Walk through the ScreenSnap Pro setup: activate your license, grant macOS permissions, set shortcuts, cloud links and a save folder, then take a first screenshot.
What happens on first launch
The first time you open ScreenSnap Pro, the editor window opens with a short setup. On a Mac it has six steps: license, permissions, menu bar icon, keyboard shortcuts, cloud links and screenshot folder. On Windows the permissions and menu bar steps do not apply, so you go from the license straight to shortcuts. Use Back to return to a step. From the second step on you can click Skip to close the setup right away: what you set so far is kept and the remaining steps keep their defaults. Everything can be changed later in Settings.
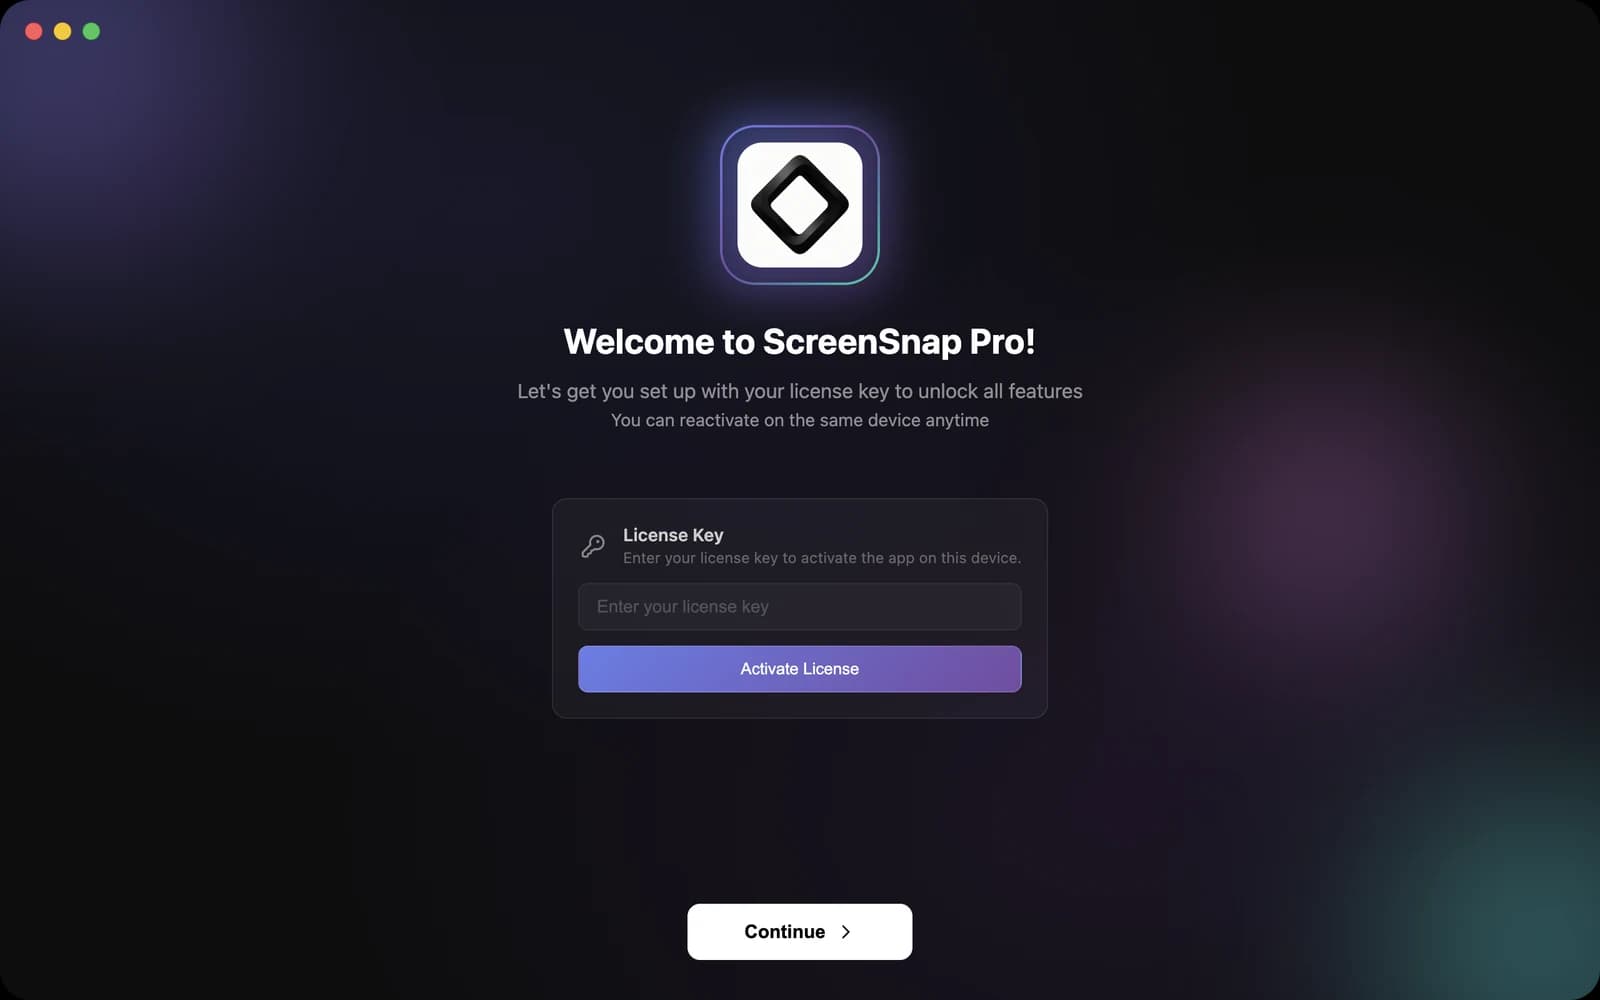
Step 1: Activate your license
The license step is the only one you cannot skip. Continue stays disabled until your key is active, and activation needs an internet connection.
- 1Copy the license key from your purchase receipt email.
- 2Paste it into the
Enter your license keyfield. - 3Click
Activate License. When it succeeds, the button changes to✓ License Activated. - 4Click
Continue.
If activation fails, see Activating Your License for what each error means.
Step 2: Permissions (Mac only)
This step shows four cards: Accessibility Permission, Screen Recording Permission, Microphone Permission and Camera Permission. Screen Recording is required to capture your screen, and the app uses Accessibility for global keyboard shortcuts. Microphone and Camera are marked Optional because you only need them to record your voice or show your webcam in recordings. Click a card's button, for example Allow Screen Recording, allow access in the macOS prompt or in the System Settings window that opens, then come back and continue.
If a card still shows an exclamation mark after you allowed access, continue anyway. macOS usually applies Screen Recording only after ScreenSnap Pro restarts. See Permissions on macOS and Windows.
Step 3: The menu bar icon (Mac only)
ScreenSnap Pro is a menu bar app, so it has no Dock icon by default. The ScreenSnap Lives in Your Menu Bar step points you to its icon at the top of the screen, where you start captures, open recent screenshots and return to the editor. Turn on Show Dock Icon if you also want the app in the Dock while the editor window is open.
Step 4: Keyboard shortcuts
This step lists three global shortcuts. Quick Screenshot (default Cmd + Shift + 1 on Mac, Ctrl + Shift + 1 on Windows) lets you select an area and saves it to a file and the clipboard. Screenshot & Edit (default Cmd + Shift + 2 on Mac, Ctrl + Shift + 2 on Windows) opens the capture in the editor. Screen Recording has no shortcut until you set one.
- 1Click the shortcut box you want to change. It shows
Press keys... (ESC to cancel). - 2Press the new key combination, or press
Escto cancel. - 3Wait a moment. The shortcut saves on its own. If one of the other two shortcuts on this screen used the same combination, it is cleared there.
More shortcuts, such as Capture Window, Capture Screen or Record Area, can be assigned later in Settings > Shortcuts. See Keyboard Shortcuts.
Step 5: Cloud shareable links
Turn on Enable Cloud Upload if you want an Upload to Cloud button on the Quick Preview that gives you a link for quick sharing. Leave it off to keep every capture only on your computer. You can change this any time in Settings > Cloud.
Step 6: Screenshot folder
Screenshots are saved to a ScreenSnap Pro folder on your Desktop unless you choose another one. Click Browse to pick a different folder, then click Get Started. After a short You're All Set! screen the setup closes. You can change the folder later in Settings > General > Save Folder.
Take your first screenshot
With setup done, try the default shortcut.
- 1Press
Cmd + Shift + 1on Mac orCtrl + Shift + 1on Windows. - 2Drag over the part of the screen you want. Press
Escto cancel. - 3A Quick Preview appears in the bottom right corner. The screenshot is already on your clipboard and saved in your screenshot folder.
- 4Paste it anywhere, drag the preview into another app, or hover over it and click
Editto open it in the editor.
On a Mac, your first capture can bring up the macOS Screen Recording prompt. Allow it, quit ScreenSnap Pro from the menu bar icon and open it again.