Highlight, Blur & Focus Tools
Use the Highlighter, Blur, Pixelate, Spotlight and Magnifier tools in ScreenSnap Pro to draw attention to details or hide sensitive information.
Highlighter
Shortcut 8. Drag a box over text or an area to lay a see-through color over it, like a marker pen. The content underneath stays readable. Settings: color and the Highlight power slider, which makes the color lighter or stronger.
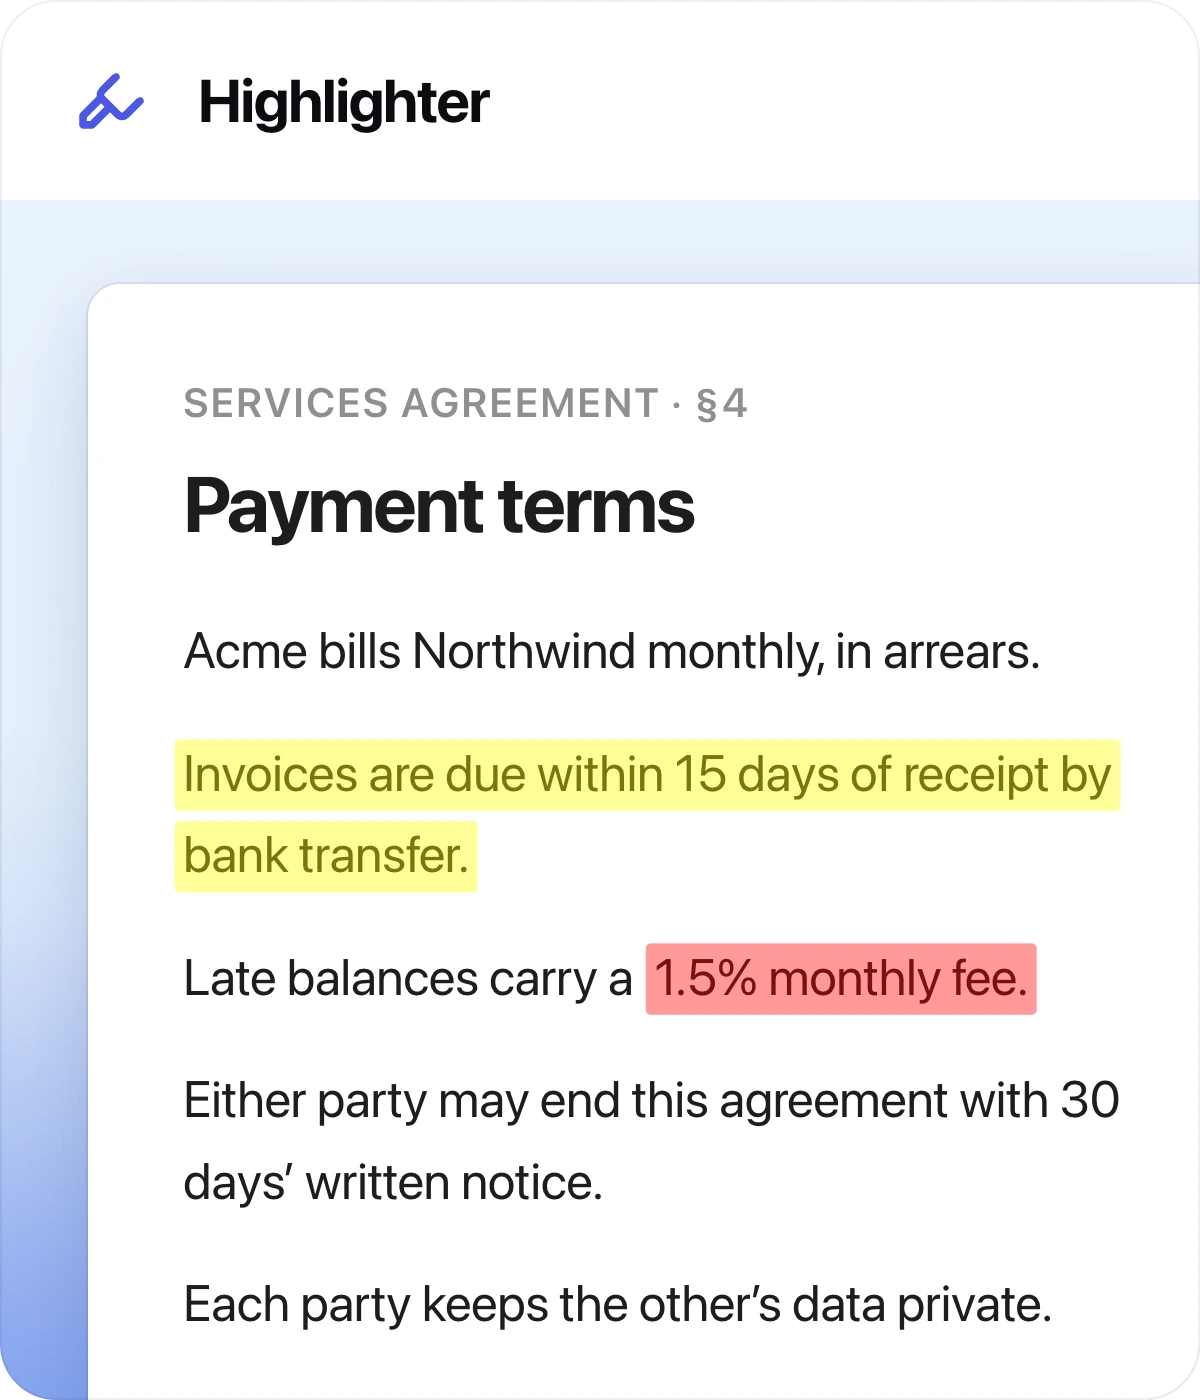
Colors are shared between tools. If you pick Yellow for a highlight, switch back to your usual color before drawing the next arrow.
Blur
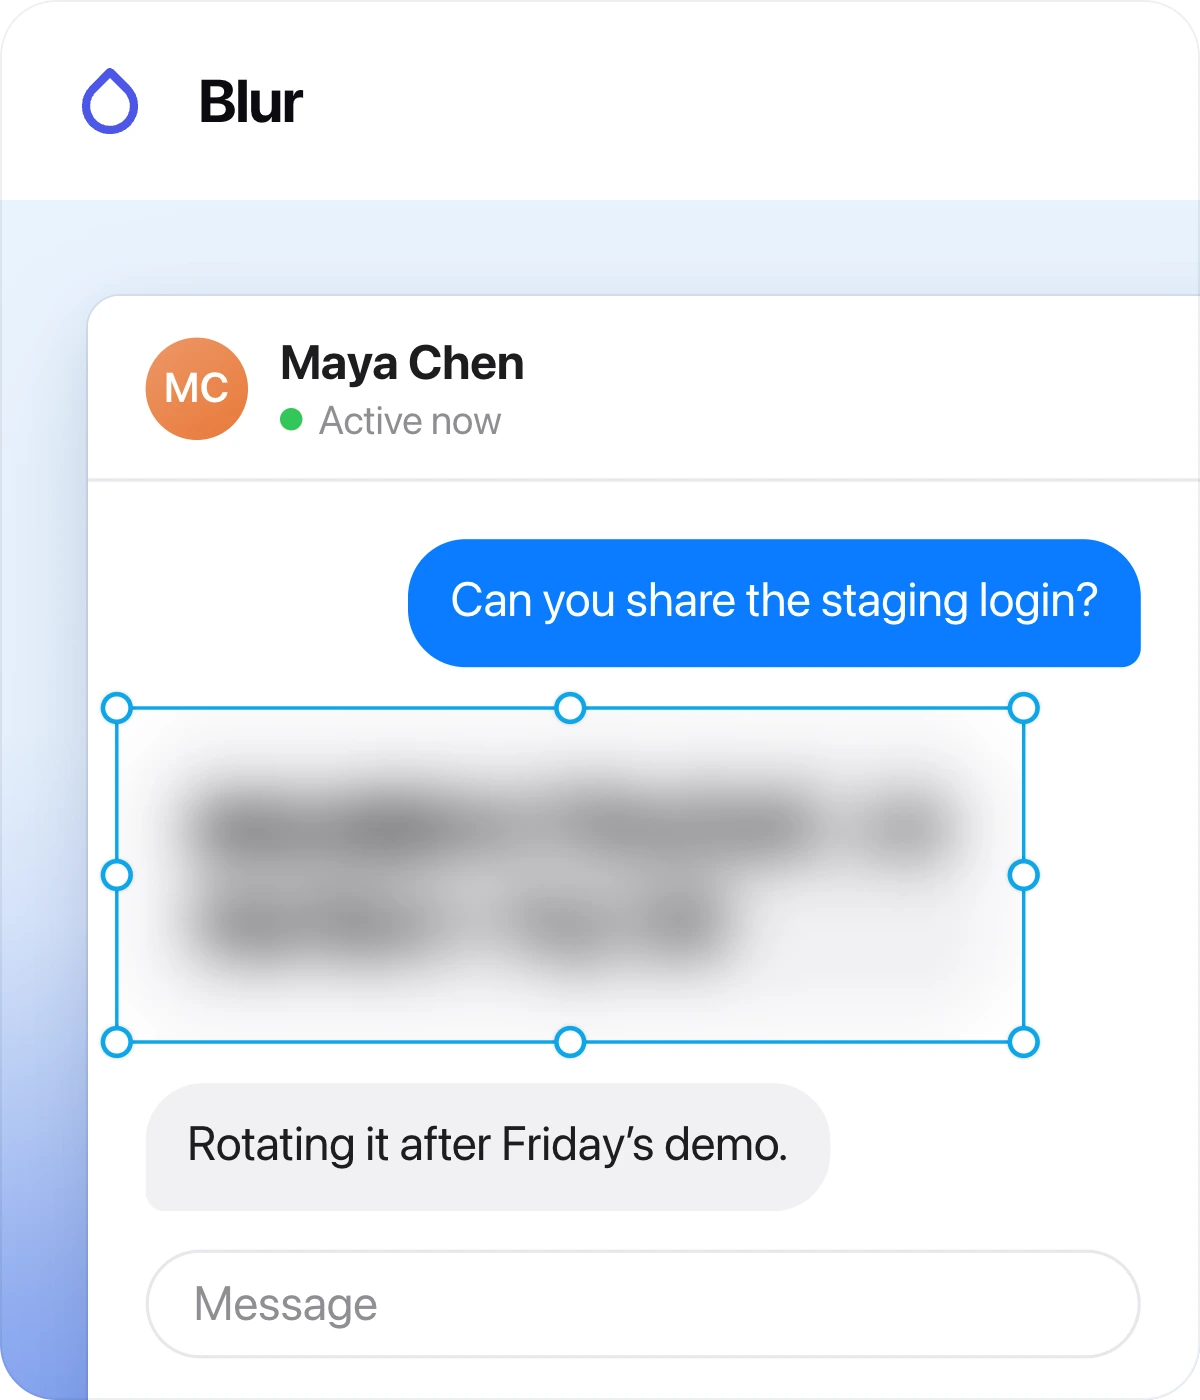
Shortcut 6. Drag over names, emails, tokens or anything you do not want to share. Hold Shift for a square area. The Blur intensity slider sets how strong the blur is. You can move or resize the blurred area afterwards and the blur follows.
Pixelate
Shortcut 7. Drag over an area to turn it into blocks. Hold Shift for a square area. The Pixelate size slider controls the block size: bigger blocks hide more detail.
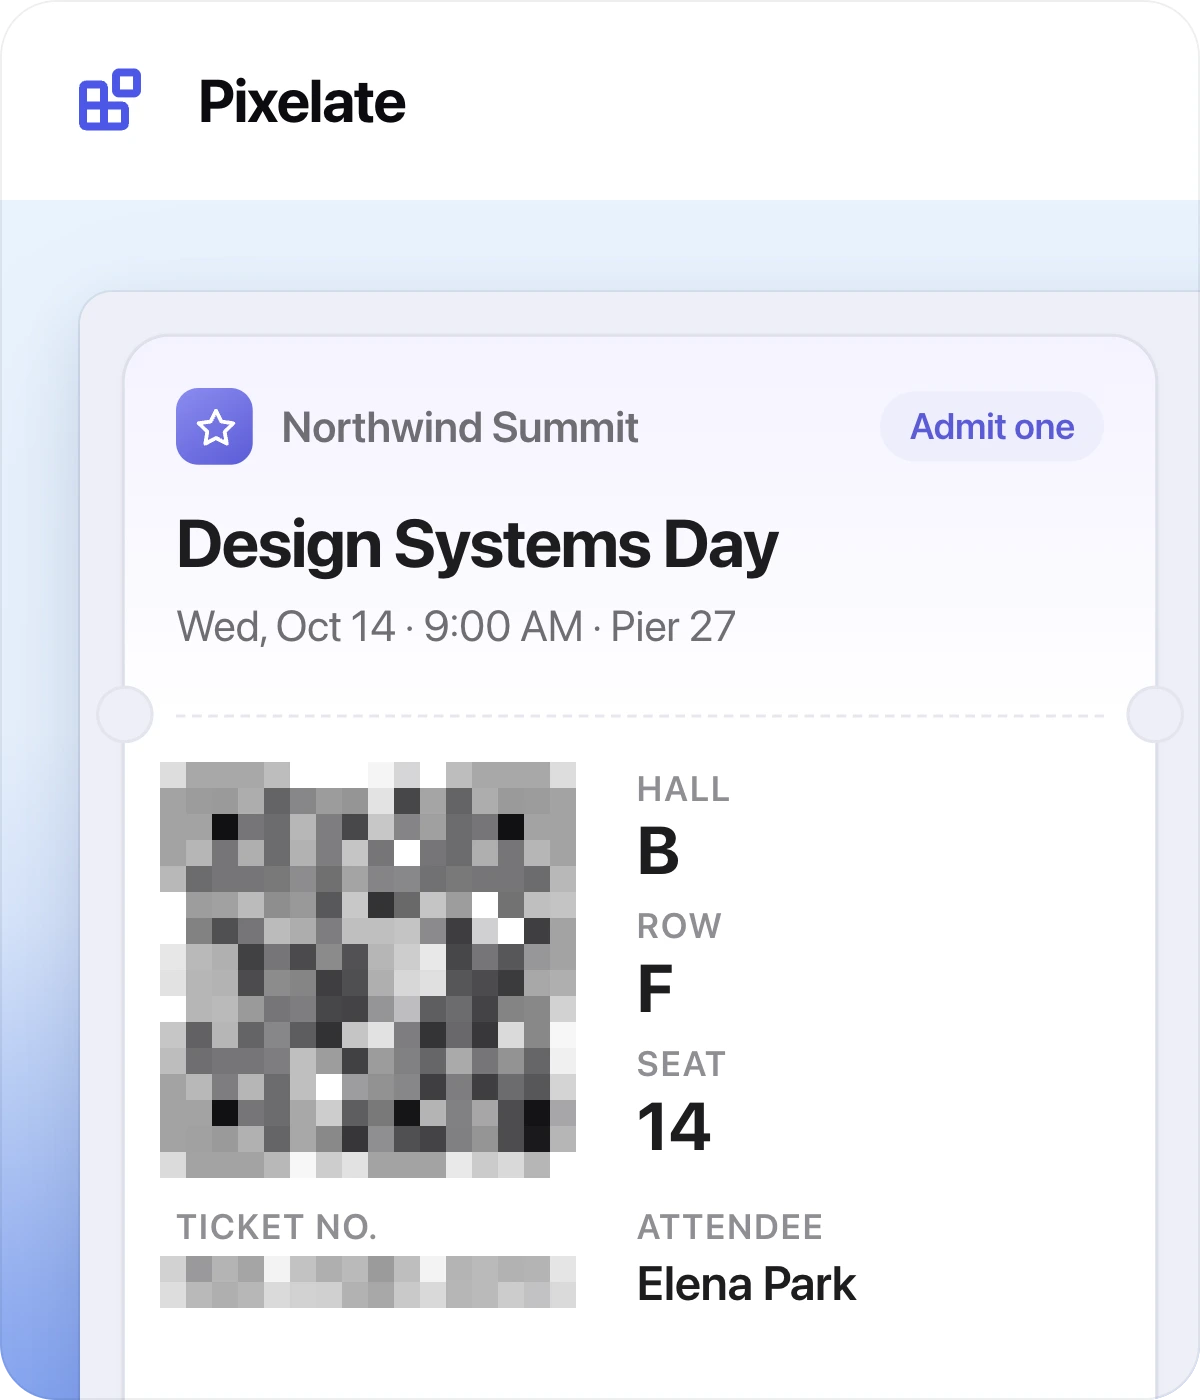
Blur and Pixelate work on the screenshot itself. Arrows, text and other annotations you add stay sharp on top. For secrets that must stay unreadable, use a black Filled Rectangle, which covers content completely.
Spotlight
Shortcut S. Drag a rectangle around the part that matters. Everything outside it is dimmed so the eye goes straight to the bright area. Hold Shift for a square.
You can draw several spotlight areas on the same screenshot; they all stay bright and share one dim overlay. The Overlay darkness slider sets how dark the rest of the screenshot gets, for all spotlight areas at once.
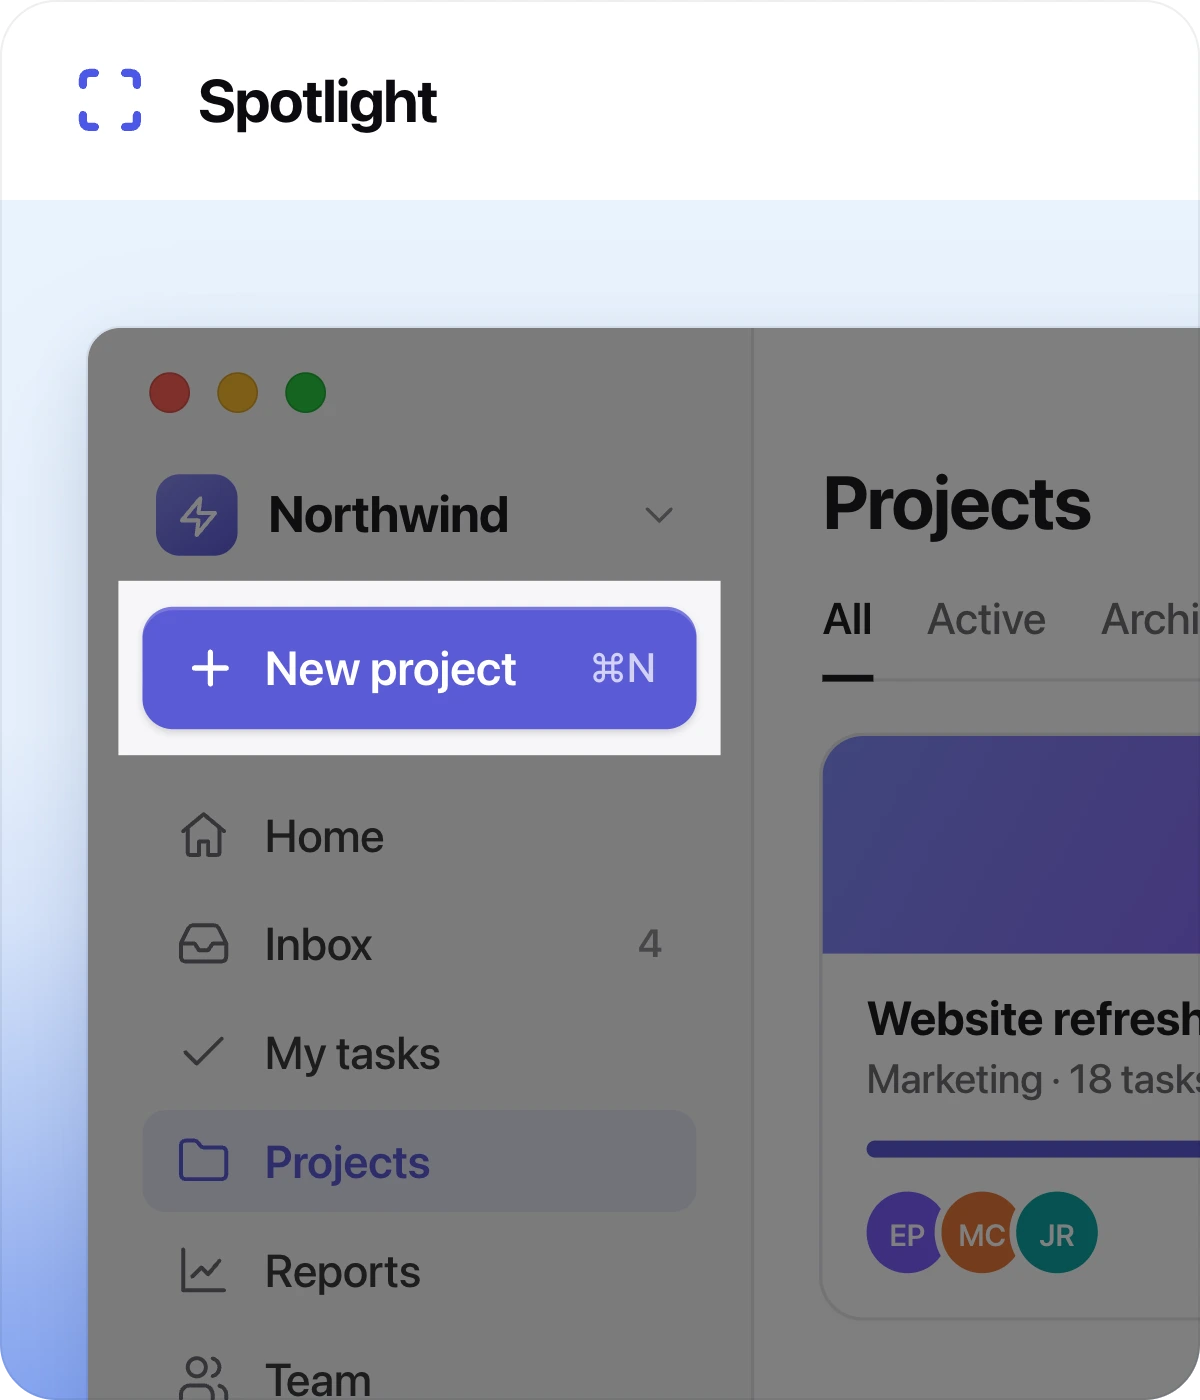
Spotlight works well for tutorials: the surrounding interface stays visible for context, but the button or field you are talking about stands out.
Magnifier
Shortcut M. Drag to draw a round lens. The lens shows an enlarged view of the screenshot under its center, which is handy for small print, tiny icons or a single number in a busy screen.
Move the lens by dragging it and resize it with its handles; the enlarged view updates as you go. Settings: Magnification strength (from 1.5× up to 5×) and Frame color for the ring around the lens.
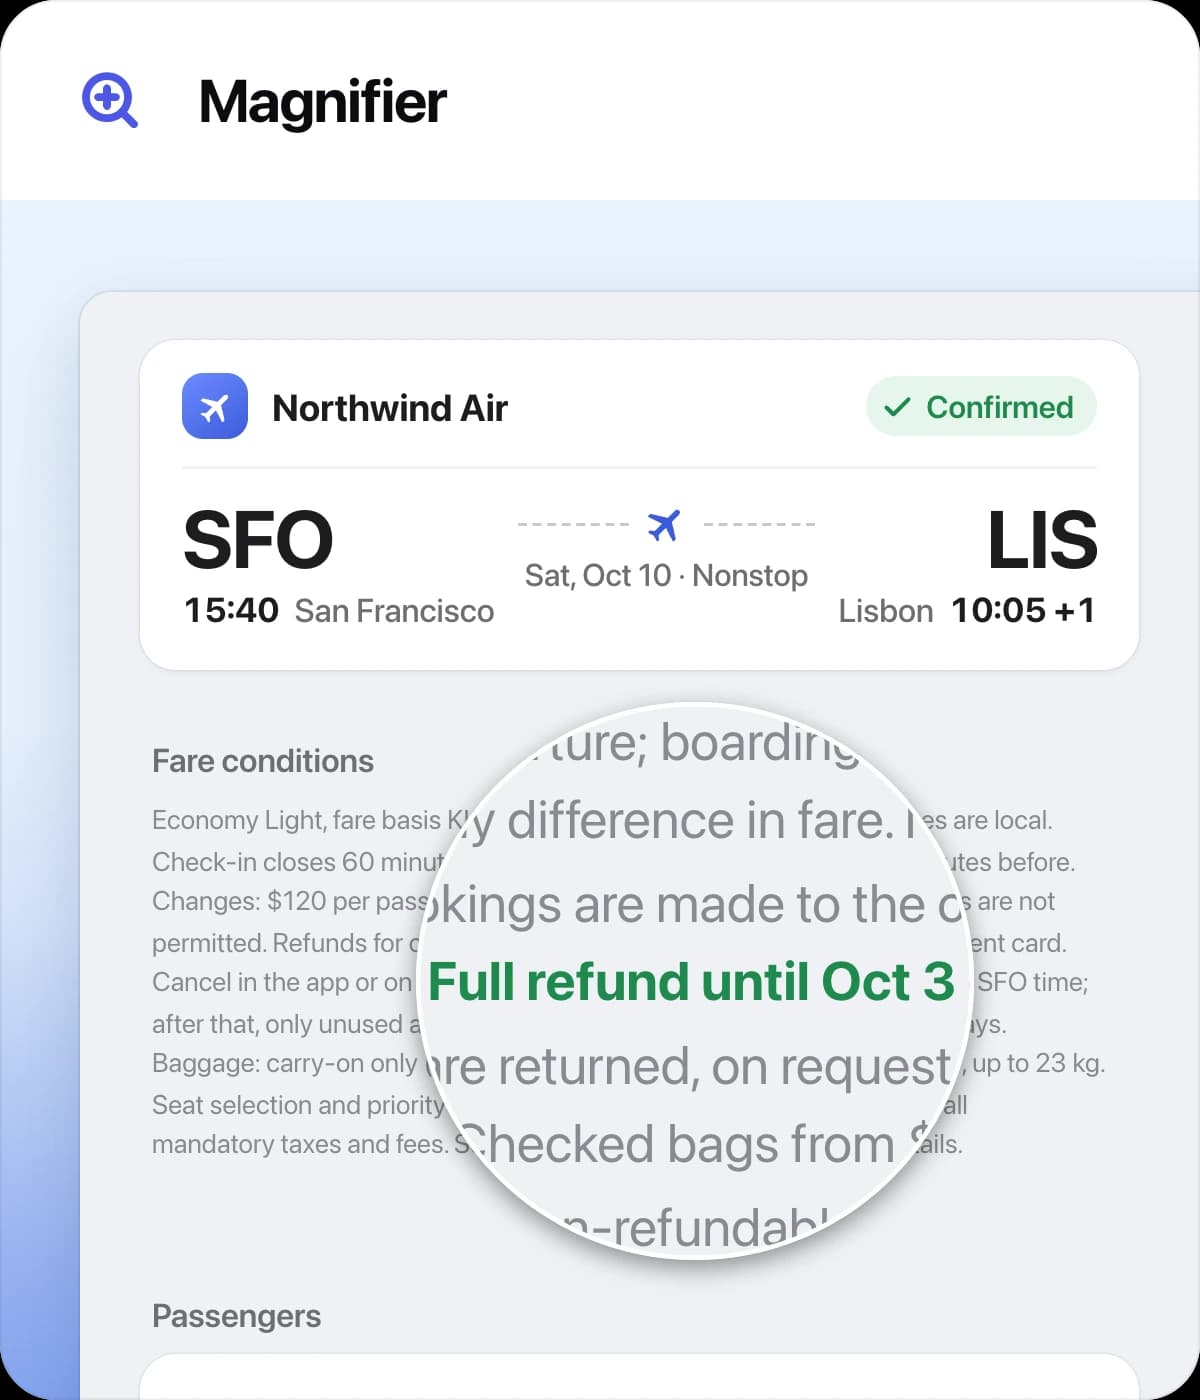
The lens always shows the original screenshot, even where you added Blur or Pixelate, so keep it away from details you hid. Arrows, text and other annotations stay on top of the lens; draw an arrow to it if the enlarged spot needs extra context.