Share a Link to a Screenshot or Recording
Upload a screenshot or recording to ScreenSnap Cloud and get a short link on your clipboard, ready to paste into any chat, ticket or email.
What a share link is
A share link is a short address on share.screensnap.pro that opens your screenshot or recording in any browser. Anyone who has the link can open the file, so share it only with the people who should see it. Share links are made for quick sharing in a chat, a ticket or an email, and you can delete an upload whenever you like, which also turns off its link.
Cloud is optional
ScreenSnap Pro uploads a file only when you click a link button or Create Link, or when you turn on Auto Upload. Everything else, like saving, copying and dragging, works without the cloud. An upload is a copy: the original file stays on your computer. Cloud features need an active license.
Turn on Cloud Upload
Cloud Upload adds the link button to the Quick Preview of screenshots and GIF recordings, and to pinned screenshots. It's off until you switch it on.
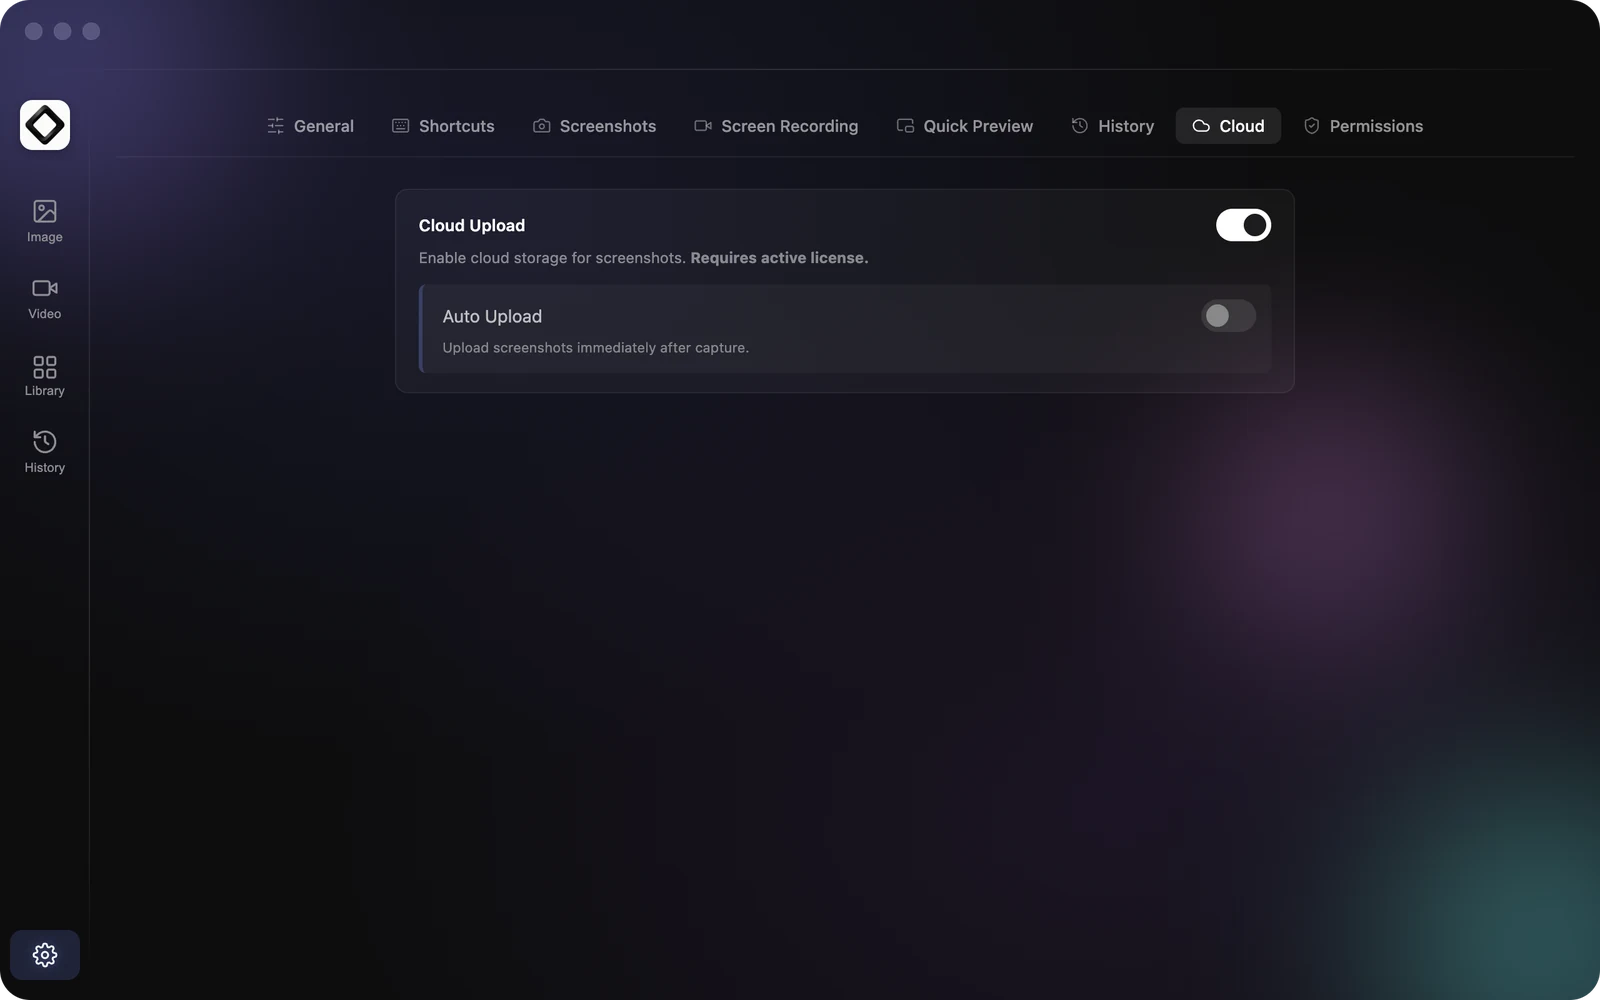
- 1Open Settings: click the ScreenSnap Pro icon in the menu bar (Mac) or right-click it in the system tray (Windows) and choose
Settings..., or click the gear icon at the bottom of the editor's left sidebar. - 2Open the
Cloudtab. - 3Switch on
Cloud Upload. - 4Optional: switch on
Auto Upload, which appears below it, to upload every screenshot as soon as you take it.
You may have turned this on already during onboarding, on the Cloud Shareable Links step.
Share a screenshot from the Quick Preview
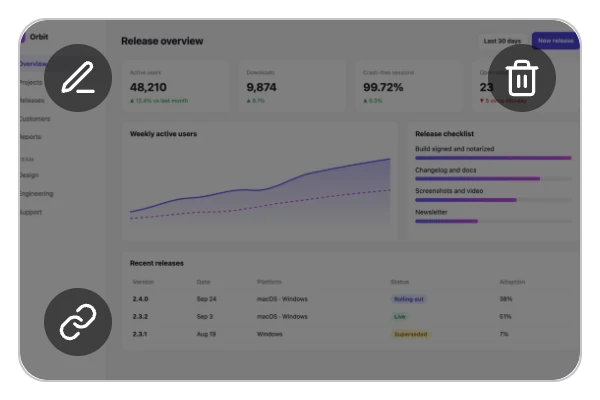
The link button appears on the Quick Preview when Cloud Upload is on and Auto Upload is off. With Auto Upload on, the screenshot uploads by itself, so there's nothing to click.
- 1Take a screenshot, for example with
Capture Area(Cmd + Shift + 1on Mac,Ctrl + Shift + 1on Windows). - 2Hover the Quick Preview in the corner of your screen.
- 3Click the link button (
Upload & copy link). - 4Wait for the checkmark. The share link is now on your clipboard and the Quick Preview closes.
- 5Paste it anywhere with
Cmd + Von Mac orCtrl + Von Windows.
Share a pinned screenshot
When Cloud Upload is on and Auto Upload is off, a pinned screenshot has its own upload button. Hover the pin and click Upload to Cloud and Copy Link. After the upload the same button becomes Copy Cloud Link, so you can copy the link again as long as the pin is open.
Share a recording
A Video recording ends in a Quick Preview with a Create Link button. Click it and ScreenSnap Pro makes an MP4 of the recording, uploads it and copies the link. A GIF recording is shared like a screenshot: use the link button on its Quick Preview, or let Auto Upload upload it. Videos and GIFs you export from the video editor also get a link button on their Quick Preview. See Screen Recording for the whole recording workflow.
Get a link for a file in your Library
Open the editor and go to the Library tab. Select a file and click Create Link to upload it, or Copy Link if it already has one. See Library for everything else you can do there.
Delete a share link
Deleting an upload removes the file from ScreenSnap Cloud, and its link stops working.
- 1Open the editor and go to the
Librarytab. - 2Click the
Cloudfilter and select the file. - 3Click
Delete, or pressDeleteorBackspace. - 4Choose
Delete Bothto remove the file from your computer too, orOnly Cloudto keep your local copy.
Troubleshooting: there's no link button
Check that Cloud Upload is on in Settings > Cloud. If Auto Upload is on as well, the button is hidden because the screenshot uploads on its own. If Display Quick Preview is off in Settings > Screenshots, no preview appears after a capture: use Auto Upload, or create the link from the Library instead.
Troubleshooting: the upload fails
When an upload fails, the link button shows an error icon for a few seconds: hover it to read the message. On Mac an Upload Failed notification shows it too. ScreenSnap Pro doesn't show upload notifications on Windows. It retries a few times on its own if the connection drops, so a failure usually has one of these causes:
- 1You're offline. Check your connection and click the link button again.
- 2The file is larger than 300 MB, the most ScreenSnap Cloud accepts.
- 3Your license isn't active. Clicking a link button opens the license window. With Auto Upload, Mac shows a notification that says
Cloud upload requires an active license. - 4The message says
Upload limit exceeded. Delete uploads you no longer need in theLibrary, then try again.
ScreenSnap Cloud doesn't accept AVIF images. If your Default Screenshot Format is AVIF, switch it to PNG, JPEG or WebP in Settings > Screenshots before you share links.
Troubleshooting: I pasted the image, not the link
When the upload finishes, the link replaces whatever is on your clipboard, including the screenshot image. If you paste too early, you get the image. Wait for the checkmark on the Quick Preview, then paste. On Mac you can also turn on System Notifications in Settings > General to see a Screenshot Uploaded! notification when the link is ready.