Style a Screenshot
Turn a plain capture into a polished image with a background, padding, rounded corners and a shadow. A quick tour of the editor's styling panel.
What styling does
Styling places your screenshot on a background and frames it: space around it, rounded corners, a shadow and an optional inset border. It never changes the pixels of the screenshot itself. You style in the editor, and the look is applied to the image when you click Copy or Save.
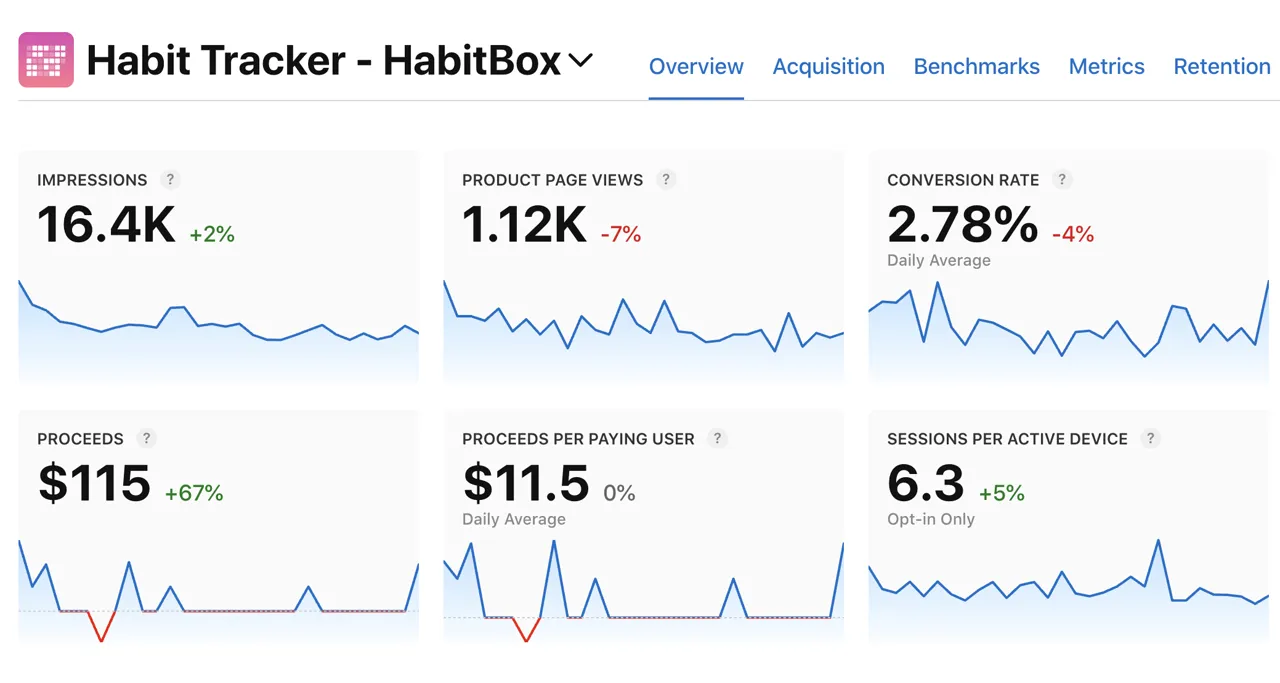
Before and after
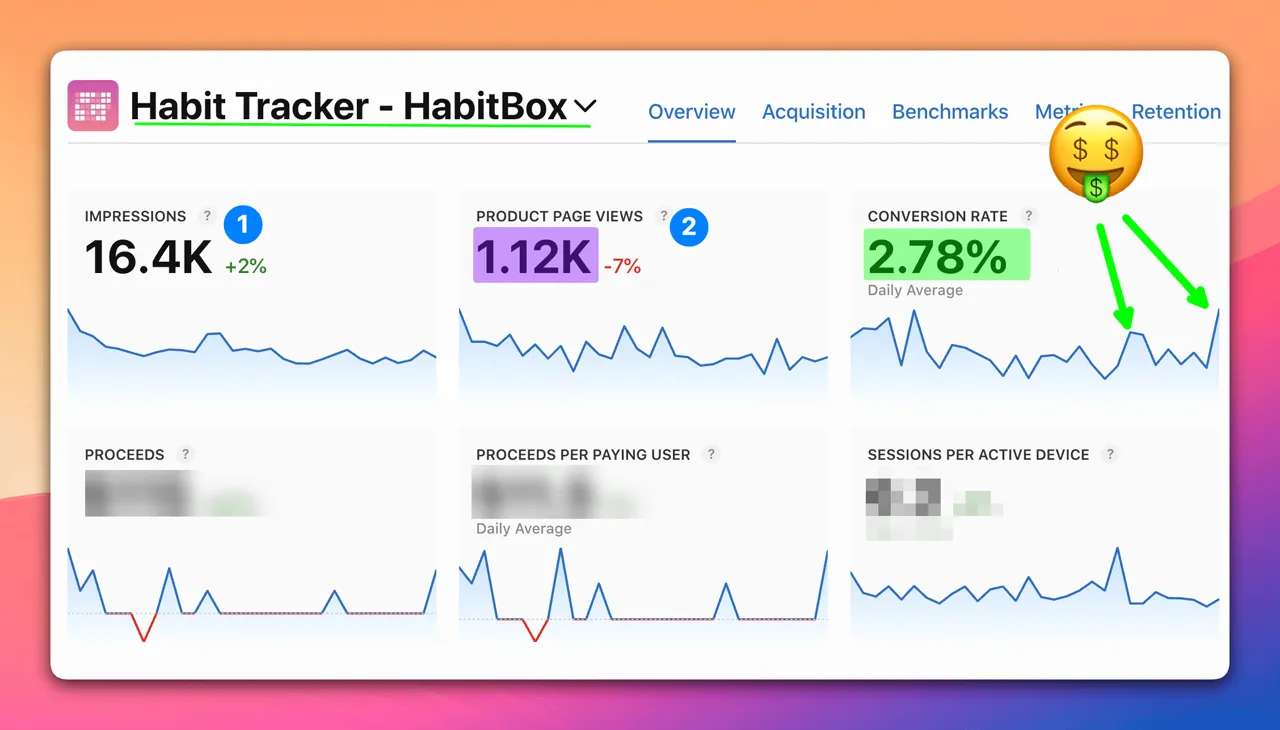
Here is the same capture after styling: a wallpaper background, padding, rounded corners and a soft shadow. The arrows, numbered markers, highlights, emoji and pixelated values were added with the annotation tools.
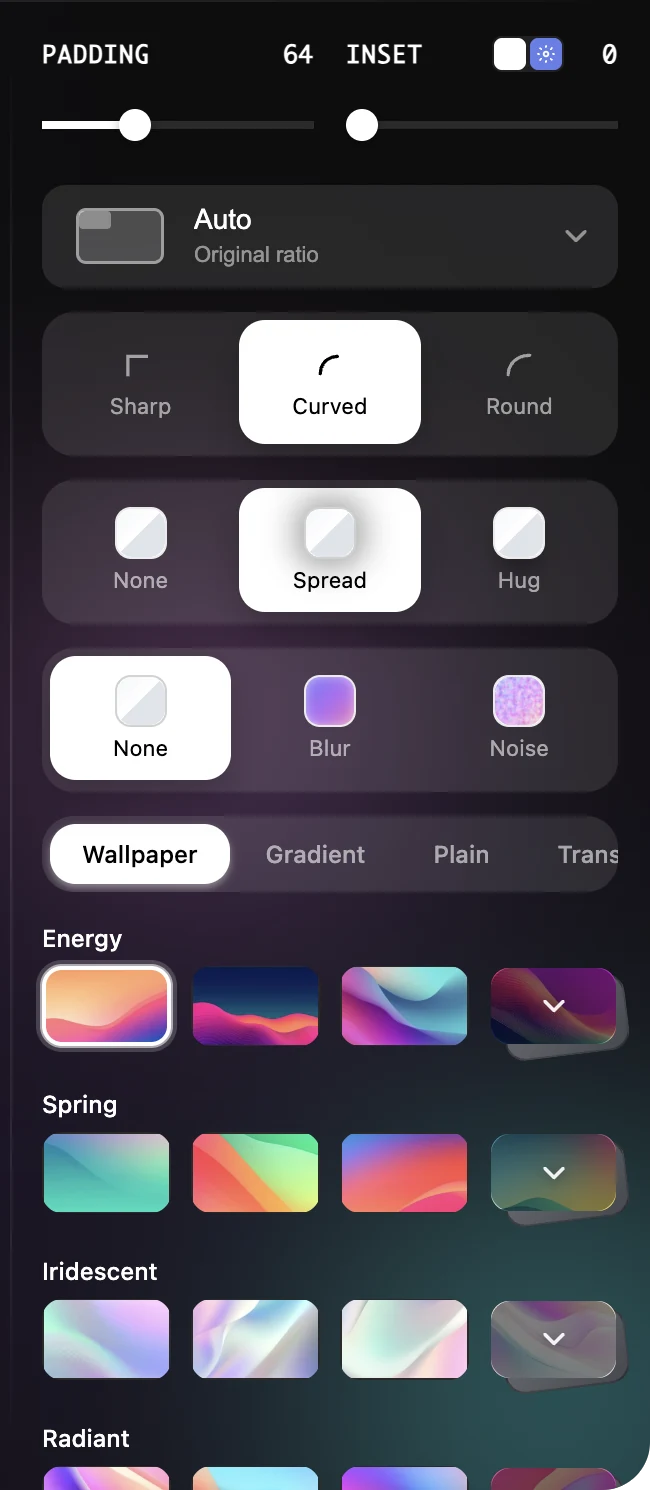
Find the styling panel
Open a screenshot in the editor and make sure Image is selected in the left rail. The styling panel runs down the right side. From top to bottom you will find: the Padding and Inset sliders side by side, the corner buttons (Sharp, Curved, Round), the shadow buttons (None, Spread, Hug), the background effect buttons (None, Blur, Noise), the aspect ratio menu (it starts at Auto), and the background tabs (Wallpaper, Gradient, Plain, Transparent).
Quick workflow
Most screenshots only need a few clicks. A good order is background first, then spacing and depth, then the final shape.
- 1Pick a background on the
Wallpaper,Gradient,PlainorTransparenttab. Switching tabs does not change anything by itself, so click a tile to apply it. - 2Drag
Paddingto set how much background shows around the screenshot. - 3Choose
Sharp,CurvedorRoundcorners. - 4Choose a shadow:
None,SpreadorHug. - 5If the image is going somewhere with a fixed shape, open the aspect ratio menu and pick a preset, for example
Postunder Instagram or16:9. - 6Click
Copyto put the styled image on the clipboard, orSaveto save it to your save folder.
The corner, shadow and effect buttons each hide a fine tuning slider. Hover over the buttons for a moment and Radius, Opacity or Intensity slides into view.
Starting settings
Out of the box the editor uses the built-in Default preset: the first wallpaper in the Energy collection, Padding 64, Inset 0, Curved corners (radius 16), a Spread shadow at opacity 25, no background effect and the Auto aspect ratio. To get back to this look at any time, open the presets menu at the top of the editor and choose Default.
Reuse your look with presets
To keep a style, open the presets menu at the top of the editor (it shows the current preset name, such as Default, above the word Presets), type a name in the Preset name... field and click Save as preset. The preset keeps all the styling from the right panel, but not your annotations. When the editor opens fresh, it starts from the last preset you applied, so save a preset for any look you want to keep. More in Presets.
Make one preset per destination, for example a 1:1 preset for Instagram and a transparent one for slides, and switch between them in one click.
Your screenshot stays sharp
The styled image is built around your screenshot at its full resolution. Padding, corners and shadow are scaled so the saved image has the same proportions you see in the preview. You can also change padding, inset or aspect ratio after annotating: arrows, text and other marks stay attached to the screenshot.