Screenshot Backgrounds
Put screenshots on wallpapers, gradients, plain colors, your own images or a transparent canvas, and fix common background problems.
Choose a background type
The background fills the space around your screenshot. Choose a type with the tabs at the bottom of the styling panel: Wallpaper, Gradient, Plain or Transparent. Switching tabs only shows the options. The background changes when you click a tile. The background is only visible where there is padding, so with Padding at 0 you will not see it.
Wallpapers
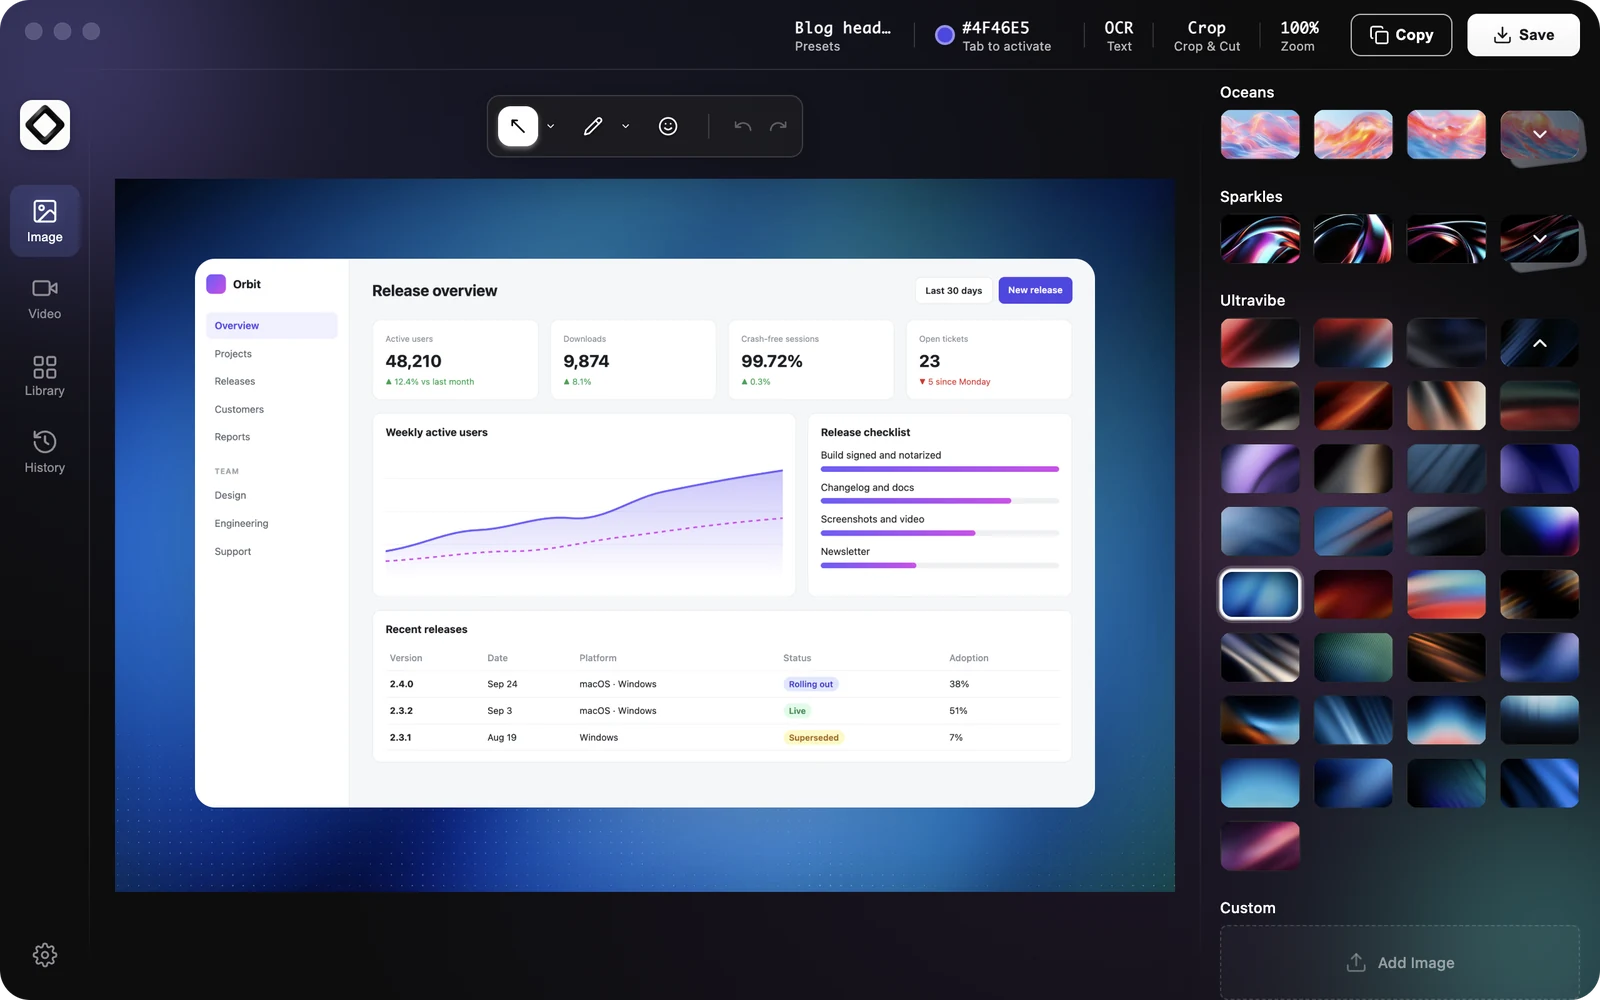
The Wallpaper tab has more than 500 wallpapers in 21 collections: Energy, Spring, Iridescent, Radiant, Sunset, Midnight, Adamantiums, Burst, Chaotic, Cubic Glass, Dark Noise, Dark Mists, Dreamy, Fractal, Glossy, Light Noise, Liquid Glass, Mist Musks, Oceans, Sparkles and Ultravibe. Each collection shows a short preview row. Click the collection name, or the tile with the arrow, to see the whole collection, then click a wallpaper to apply it. Wallpapers are scaled to fill the background and centered, so some of the edges may be cut off on very wide or very tall images.
Wallpapers download the first time you use them
Small previews come with the app. The full resolution image is downloaded the first time you pick a wallpaper, then kept on your computer, so it works offline from then on. While it downloads, the tile shows a loading indicator, and the wallpaper appears as soon as it is ready.
Picked a new wallpaper while offline? The editor falls back to the small preview so the canvas is never empty, but it will look soft, and the tile shows a small ! mark. Reconnect and click the wallpaper again to get the full resolution version.
Use your own image
Put a brand background, a texture or a photo behind your screenshot.
- 1On the
Wallpapertab, open theCustomcollection at the end of the list. - 2Click
Add Imageand choose one or more images (JPG, PNG, WebP or AVIF). - 3The last image you added is applied right away. Your images stay in the
Customcollection for next time.
To remove a custom image, hover over it and click the × button (Remove background). This deletes ScreenSnap Pro's copy only. Your original file is not touched. Images wider than 2560 pixels are scaled down to that width when you add them.
Gradients
The Gradient tab has 40 ready made gradients in four groups: Simple, Vibrant, Radial and Conic. Each group opens like a wallpaper collection. Click a gradient to apply it. To make your own, click the two color tiles (each labeled Select) to choose the start and end colors in your system color picker, and drag Gradient Angle anywhere from 0 to 360.
Click any gradient first, then adjust the colors and angle. Changing the colors creates a two color linear gradient, so the radial, conic and multi color presets are best used as they are.
Plain colors
The Plain tab gives you one solid color. Pick one of the 16 Color Presets (from Blue and Purple to White and Black), or click the color tile labeled Select to open the color picker. There you can drag to choose a color, type a hex value, or use Pick color from screen to sample any color on your display, such as your brand color from a website.
Transparent background
On the Transparent tab, click the checkerboard tile to remove the background completely. In the editor the empty area shows as a checkerboard. In the copied or saved image it is see through, while your rounded corners and shadow are kept. As the panel puts it: Keeps the padded canvas transparent when copying or exporting PNGs. Use it when the screenshot goes onto a slide, a web page or a design and you want that background to show through.
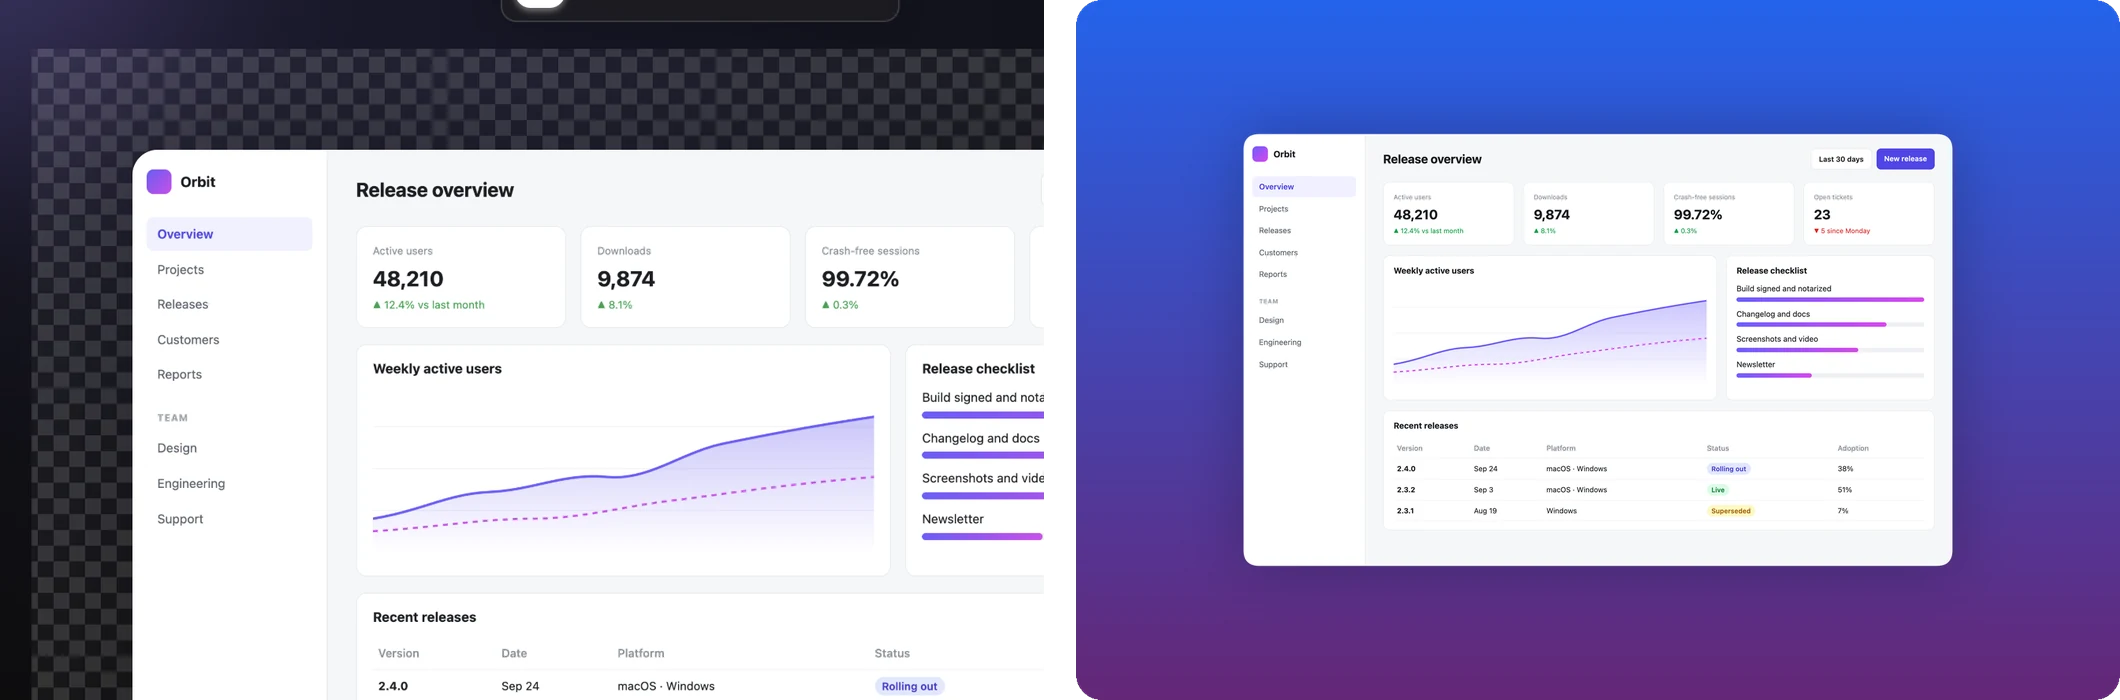
Transparency needs a format that supports it. PNG, WebP and AVIF keep it. JPEG does not, so transparent areas turn white. To change the format, open Settings (the gear icon at the bottom of the editor's left rail), go to the Screenshots tab and set Default Screenshot Format.
Backgrounds on screen recordings
The video editor has the same Wallpaper, Gradient, Plain and Transparent tabs, plus padding, corner, shadow and background effect controls, so recordings can match your screenshots. There is no Inset control for video. Video has no transparency: a Transparent background shows a checkerboard while you edit, but comes out black in an exported MP4 or GIF. More in Screen Recording.
The background does not show
Check Padding first. The background only appears in the padding area, so at 0 there is nothing to show. Next, check which tile is selected: opening a tab does not apply it until you click a tile. If the Transparent tile is selected, the background is intentionally empty and shows as a checkerboard.
A wallpaper looks soft or blurry
There are three common causes. If you picked the wallpaper while offline, you are seeing the small preview: reconnect and click the wallpaper again. If Blur is selected under background effects, the wallpaper is blurred on purpose: click None or lower Intensity. See Background Blur & Noise. If it is one of your own images, a small image is scaled up to fill the background: add a larger version to the Custom collection.
The transparent area came out white
Your Default Screenshot Format is set to JPEG, which cannot store transparency. Switch it to PNG, WebP or AVIF in Settings on the Screenshots tab and copy or save again. If the file is fine but the app you paste into shows a solid color, insert the saved PNG file instead of pasting.