Updating ScreenSnap Pro
How ScreenSnap Pro updates itself in the background, how to check for updates manually, find your version, and what to do if an update fails.
Automatic updates
ScreenSnap Pro checks for updates shortly after it starts and again every few hours while it runs. When a new version is available, it downloads in the background and the Check for Updates item in the menu bar or tray menu changes to Install Update. The update installs the next time you quit ScreenSnap Pro, or right away when you click Install Update.
Check for updates manually
You can check at any time from the menu.
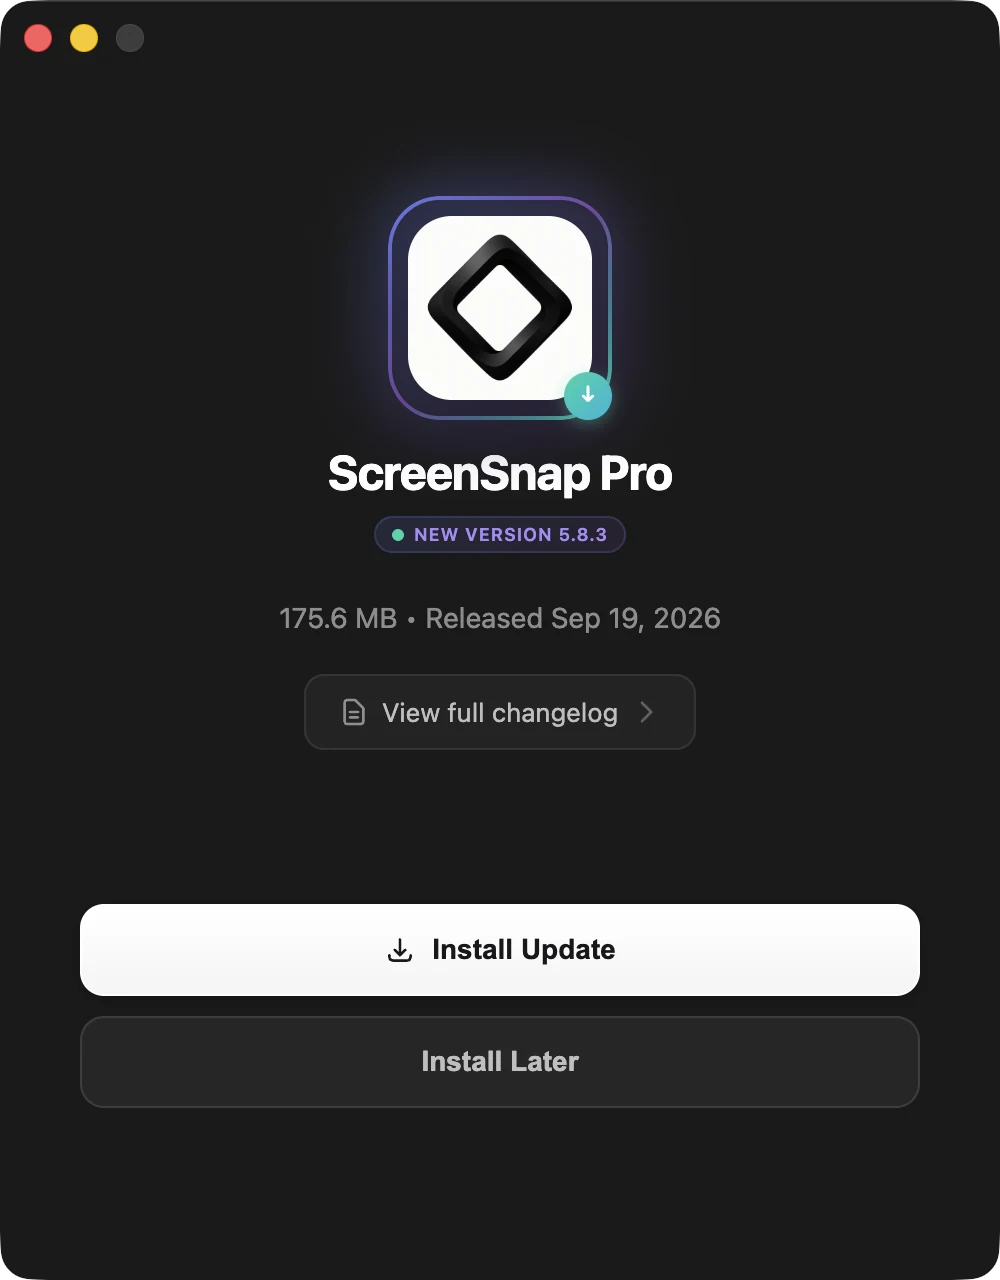
- 1Click the ScreenSnap Pro icon in the menu bar (Mac) or right-click it in the system tray (Windows).
- 2Choose
Check for Updates. If the item already saysInstall Update, a new version is downloaded and ready: clicking it installs the update and restarts ScreenSnap Pro. - 3If you already have the latest version, the window shows
Up to Datewith your version number andYou're running the latest version. - 4If a new version is available, you see its number, download size and release date. Click
View full changelogto read what changed. - 5Click
Install Updateto download it and restart right away, orInstall Laterto download it now and install it the next time you quit.
Which version do I have?
Open Settings > General and scroll to the bottom. The footer shows ScreenSnap Pro v followed by your version number. The changelog lists what is new in each release.
If an update fails
If installing shows Install Failed, wait for the Retry Install button and click it. If the window shows Update Error, check your internet connection, then choose Check for Updates again, or quit and reopen ScreenSnap Pro first. You can also download the latest version from the download page and install it over your current copy: on a Mac, quit ScreenSnap Pro, then drag the new app into Applications and replace the old one; on Windows, run the new installer. Your settings and license stay in place.